
 Scrapoxy
Splash Integration

This tutorial explains how to use the Splash rendering engine with Scrapoxy.
Step 1: Use the correct Docker Image
The official image has the following issues:
- Proxy Issue with HTTPS: Splash has a known issue when using proxies on HTTPS URLs.
- Page Cache: By default, Splash caches pages. If you request the same page twice, the second request will return the cached version rather than making a new request via Scrapoxy.
Use the image scrapoxy/splash to solve these issues.
INFO
If you're interested in the underlying code, you can find it here.
Step 2: Start Splash
Run the following command to start Splash:
shell
docker run -p 8050:8050 --rm scrapoxy/splashStep 3: Retrieve project credentials
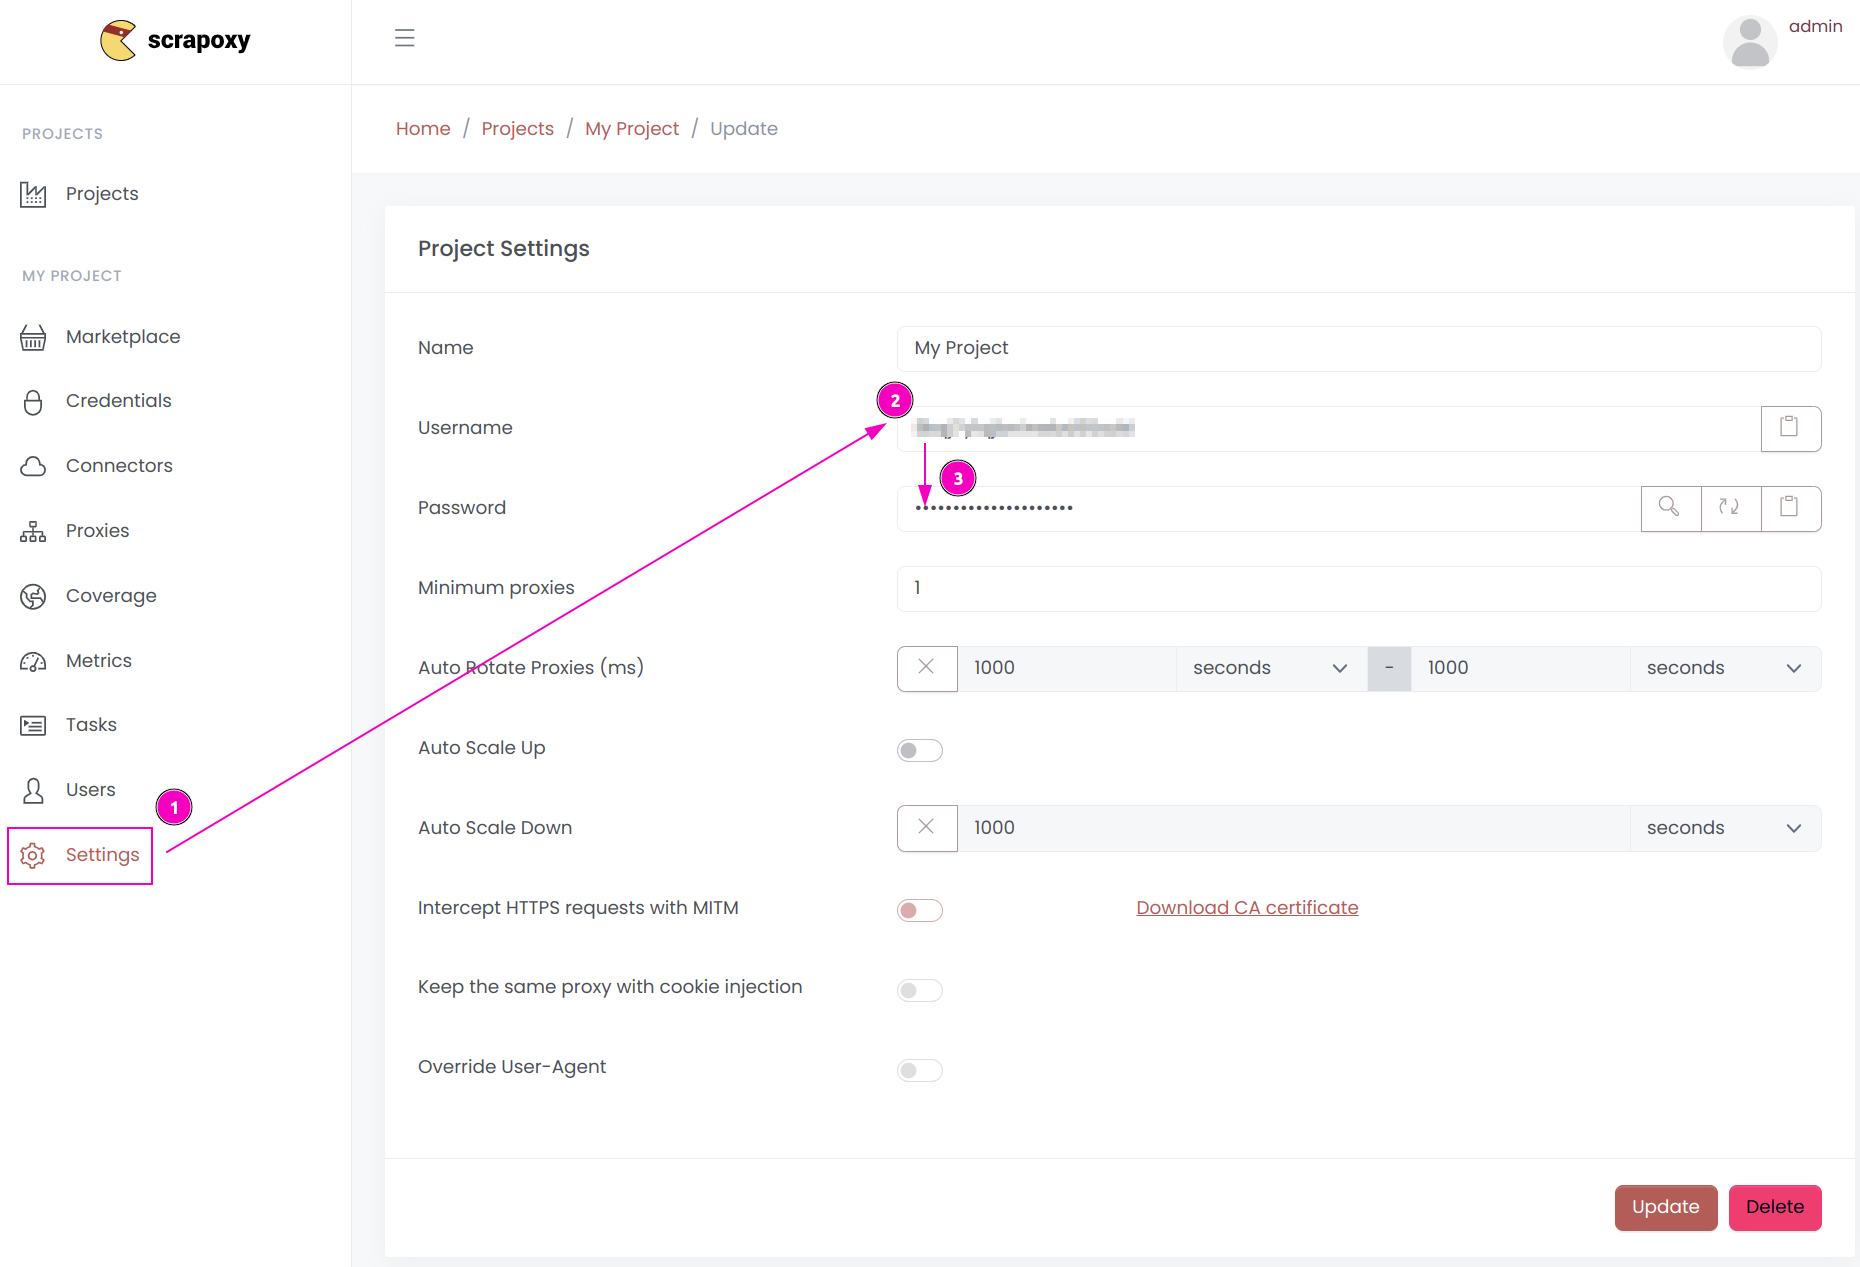
- Open Scrapoxy User interface, and go to the project
Settings; - Remember the project's
Username; - Remember the project's
Password.
Step 4: Use Splash with Scrapoxy
Run the following command to use Splash with Scrapoxy:
shell
curl \
  -d '{"wait": 1, "proxy": "http://USERNAME:PASSWORD@HOST_IP:8888"}' \
  -H "Content-Type: application/json" \
  -X POST http://localhost:8050/render.html?url=https%3A%2F%2Fexample.com
Replace USERNAME and PASSWORD with the previously copied credentials, and HOST_IP with the IP address of the machine running Scrapoxy.
WARNING
For the HOST_IP, avoid using localhost.
Since Splash runs inside a Docker container, Scrapoxy is not running within this container. Use the correct IP address of the machine running Scrapoxy.
Step 5: Use Splash with Scrapy
See the guide here.