
 Scrapoxy
OVH Cloud Connector

OVH Cloud is a french cloud computing service created by OVH
Prerequisites
An active OVH subscription is required.
OVH Manager
Connect to Manager.
Step 1: Create new project

Click on + Create a new project.
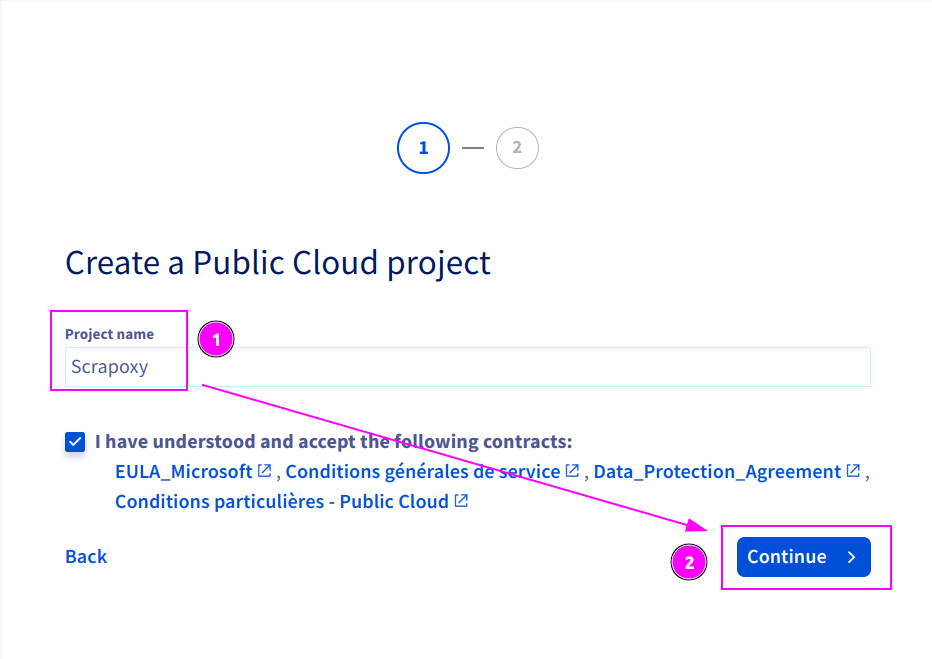
- Enter
scrapoxyas Project name; - And click on
Continue.
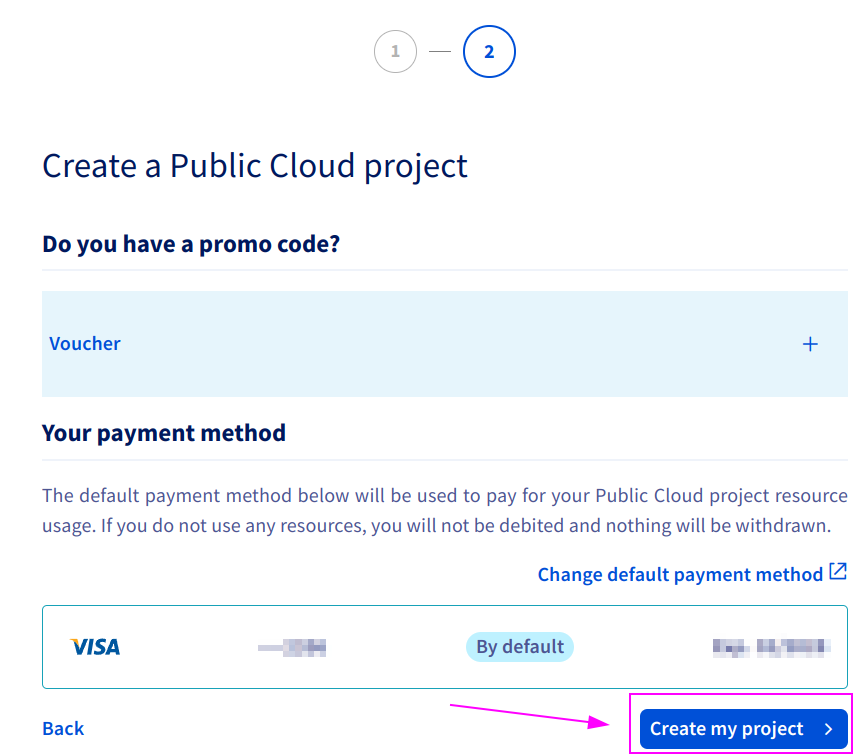
Click on Create my project and wait for project creation.
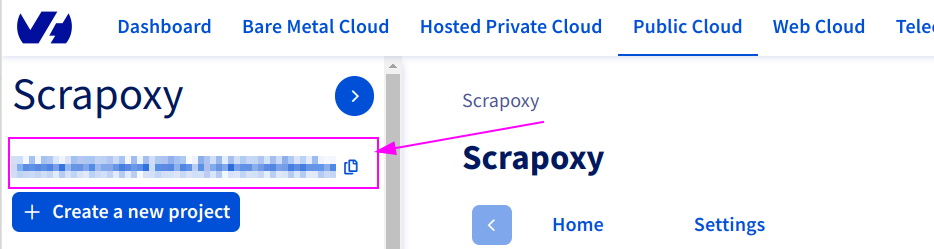
Remember the Project ID.
Step 2: Create new credential
Connect on https://www.ovh.com/auth/api/createToken:
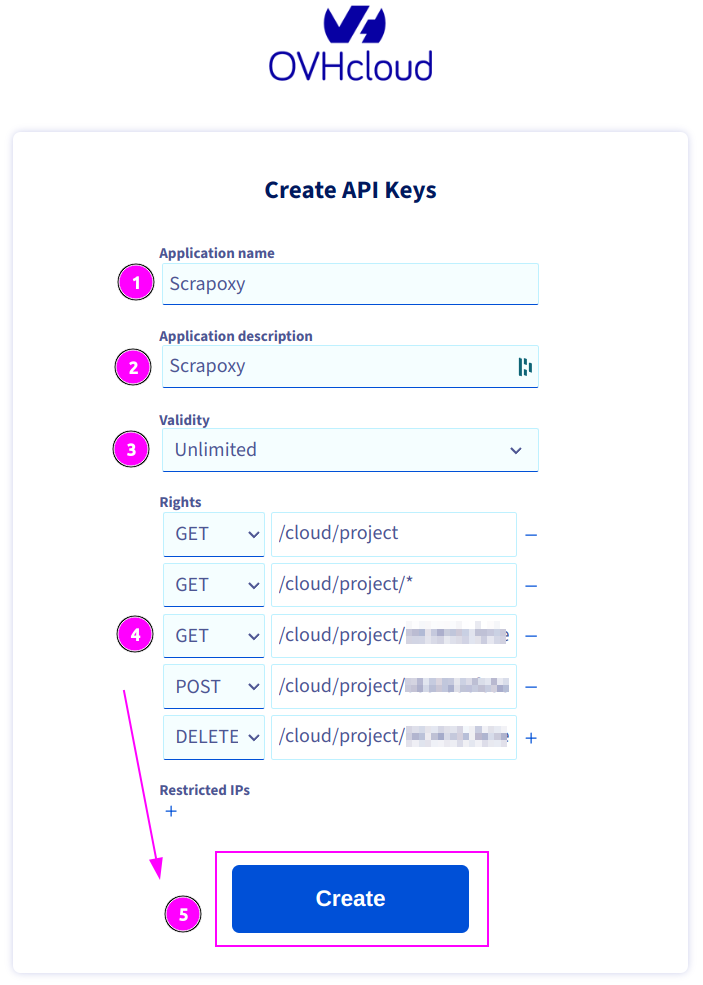
Complete the form with the following information:
- Application name:
Scrapoxy - Description:
Scrapoxy - Validity:
Unlimited - Rights: see table below
| Method | Path |
|---|---|
| GET | /cloud/project |
| GET | /cloud/project/* |
| GET | /cloud/project/{projectId}/* |
| POST | /cloud/project/{projectId}/* |
| DELETE | /cloud/project/{projectId}/* |
INFO
Replace {projectId} by the previously copied project ID.
If the projectId is 0123456789abcdefgh, the path will be /cloud/project/0123456789abcdefgh/*.
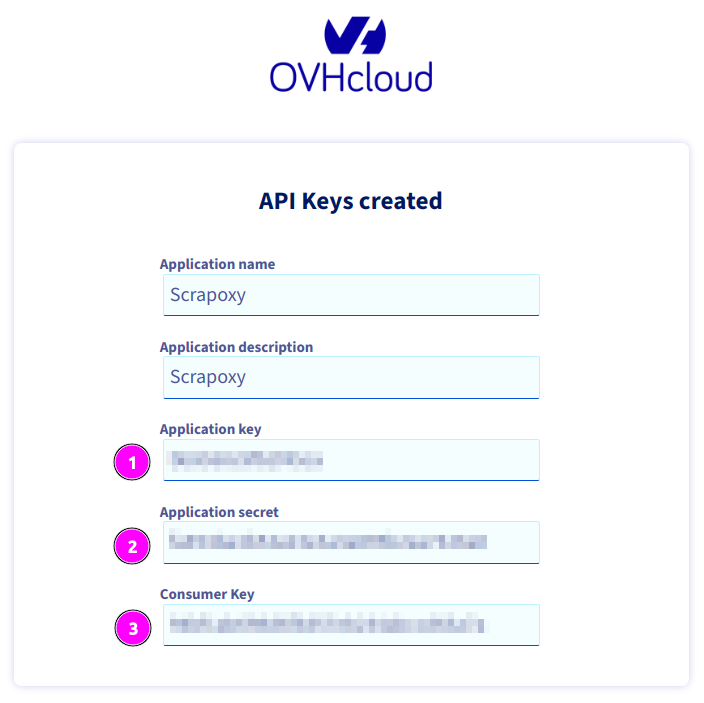
Remember:
- Application Key;
- Application Secret;
- And Consumer Key.
Scrapoxy
Open Scrapoxy User Interface and select Marketplace:
Step 1: Create a new credential
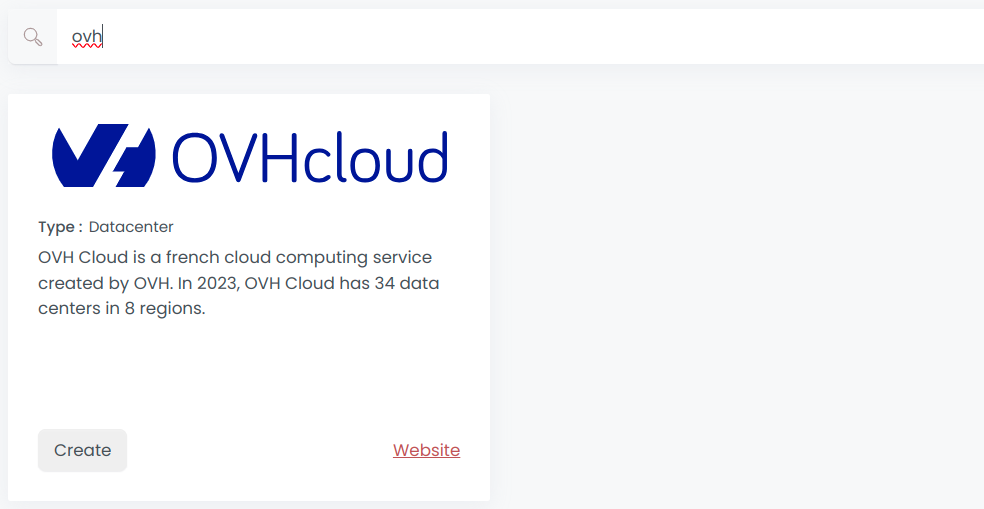
Select OVH to create a new credential (use search if necessary).

Complete the form with the following information:
- Name: The name of the credential;
- Application Key: The key of the application;
- Application Secret: The secret of the application;
- Consumer Key: The consumer key of the application (this is the installation ID of the application for your account).
And click on Create.
Step 2: Create a new connector
Create a new connector and select OVH as provider:
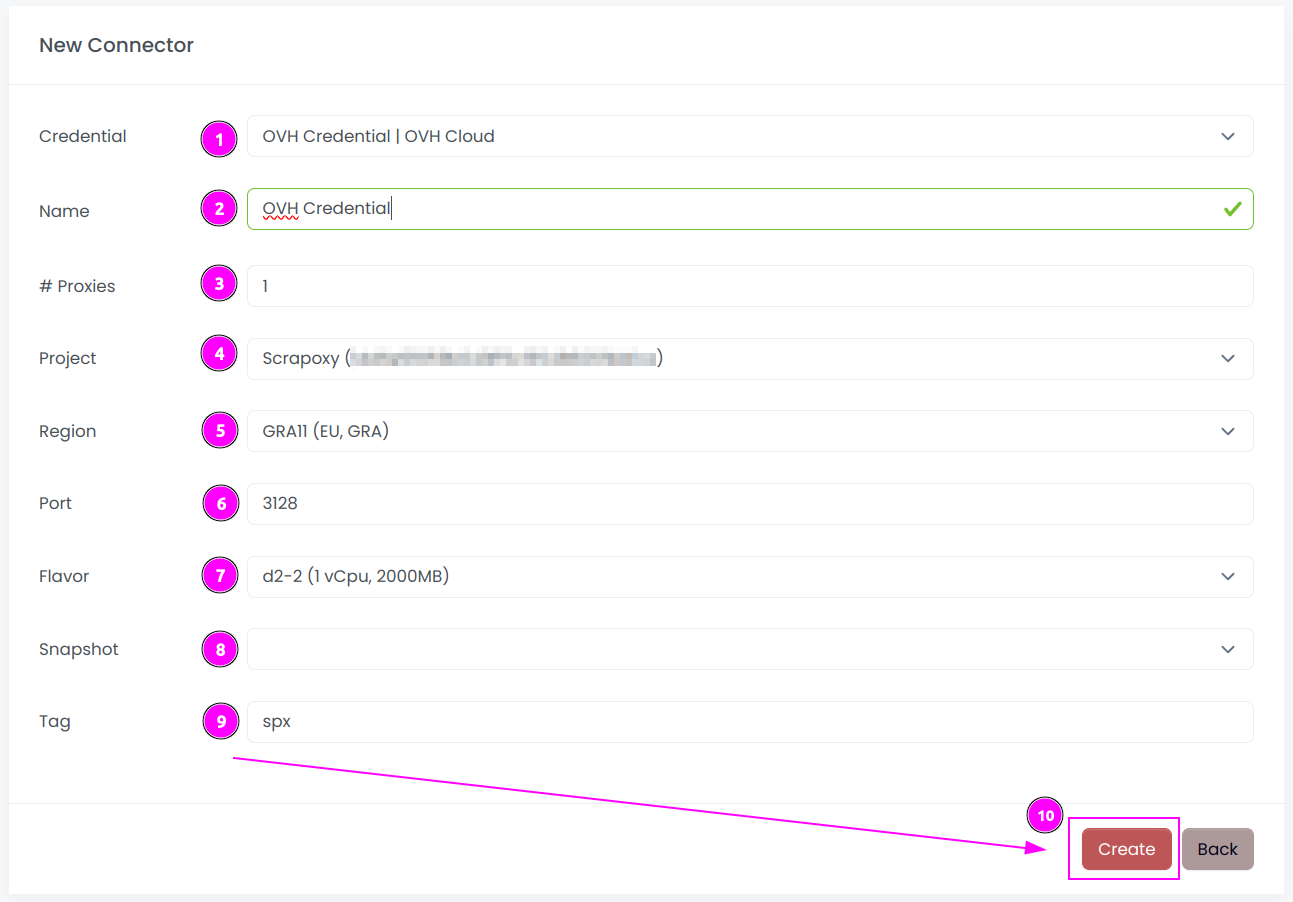
Complete the form with the following information:
- Credential: The previous credential;
- Name: The name of the connector;
- # Proxies: The number of instances to create;
- Project: The project used to create the instances;
- Region: The region where the instances will be created;
- Port: The port of the proxy (on OVH);
- Flavor: The type of the instance;
- Snapshot: The name of the snapshot to use. ⚠️ Don't fill it, it will be created automatically during installation.;
- Tag: The default label to tag instance.
And click on Create.
Most default values can be retained if suitable for the use case.
WARNING
When setting up the connector in multiple regions, assign a unique Tag for each region. Without this, connectors may interfere with each other, shutting down instances from the same provider.
Step 3: Start the connector

- Start the project;
- Start the connector.
Step 4: Start the connector (optional)

- Stop the connector;
- Wait for proxies to be removed.