Get Started
This is a quick guide to installing Scrapoxy in just a few minutes.
Step 1: Install Scrapoxy with Docker
Ensure that Docker is installed on your computer.
Open the terminal and run the following command:
docker run -d -p 8888:8888 -p 8890:8890 -v ./scrapoxy:/cfg -e AUTH_LOCAL_USERNAME=admin -e AUTH_LOCAL_PASSWORD=password -e BACKEND_JWT_SECRET=secret1 -e FRONTEND_JWT_SECRET=secret2 -e STORAGE_FILE_FILENAME=/cfg/scrapoxy.json scrapoxy/scrapoxyRunning Scrapoxy in the Cloud
Scrapoxy cannot be deployed directly on cloud container services (e.g., AWS ECS, GCP Cloud Run, or Azure Container Instances, ...) because their built-in HTTP reverse proxies do not correctly forward the proxy protocol. Instead, provision a virtual machine, install Docker, and then run the Scrapoxy container on that instance.
Step 2: Connect to Scrapoxy and create the first project
Connect to http://localhost:8890:
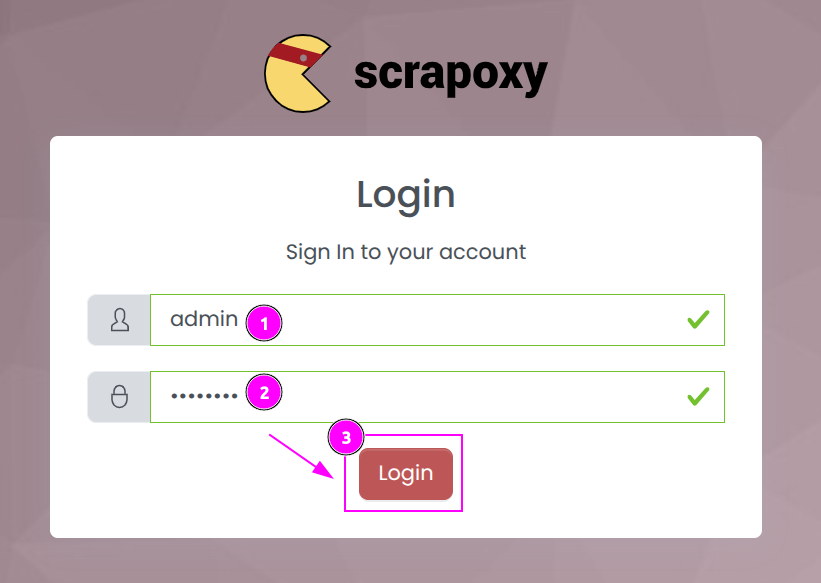
- Enter
adminas the username. - Enter
passwordas the password. - Click Login.
The first project is automatically created:
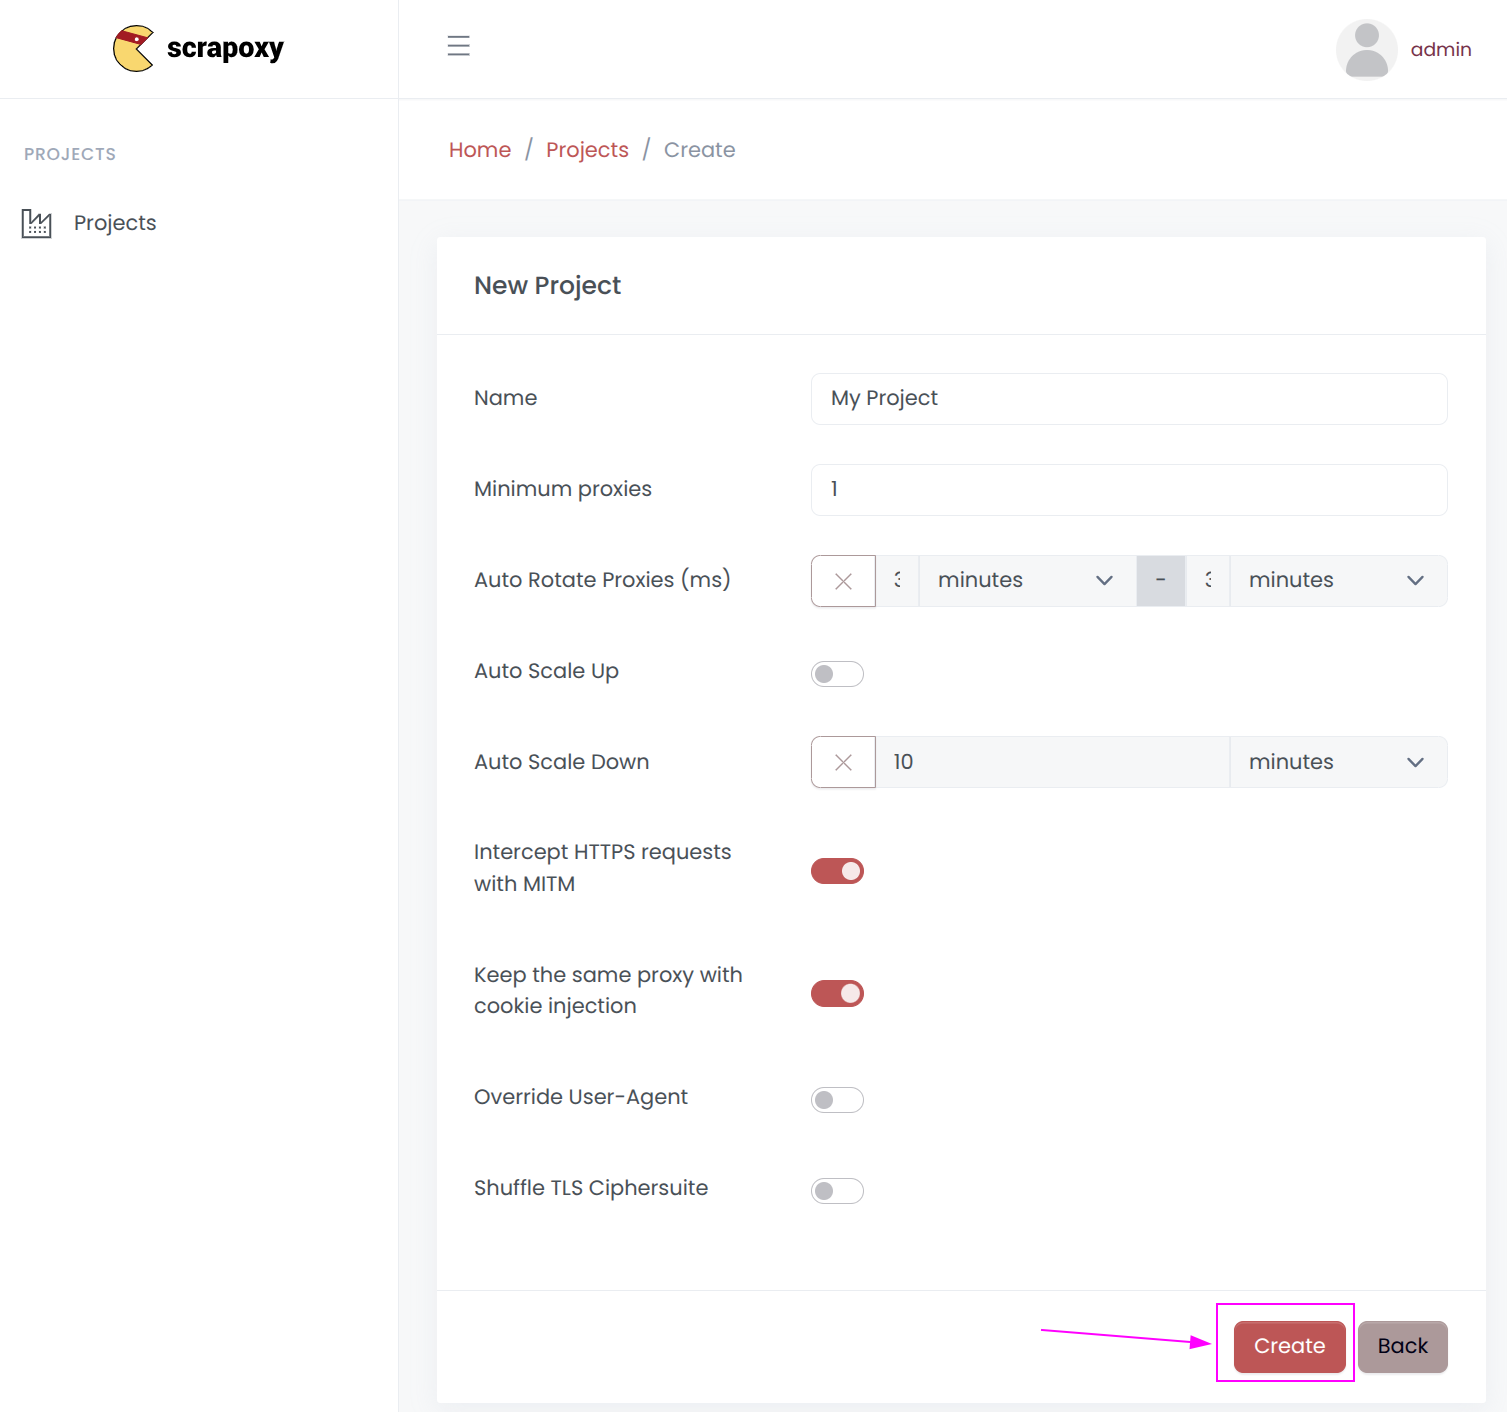
Click on Create.
Step 3: Add a first connector
After creating the project, Scrapoxy will ask to add a connector.
Connectors are available for cloud providers, proxy services, hardware, and more:
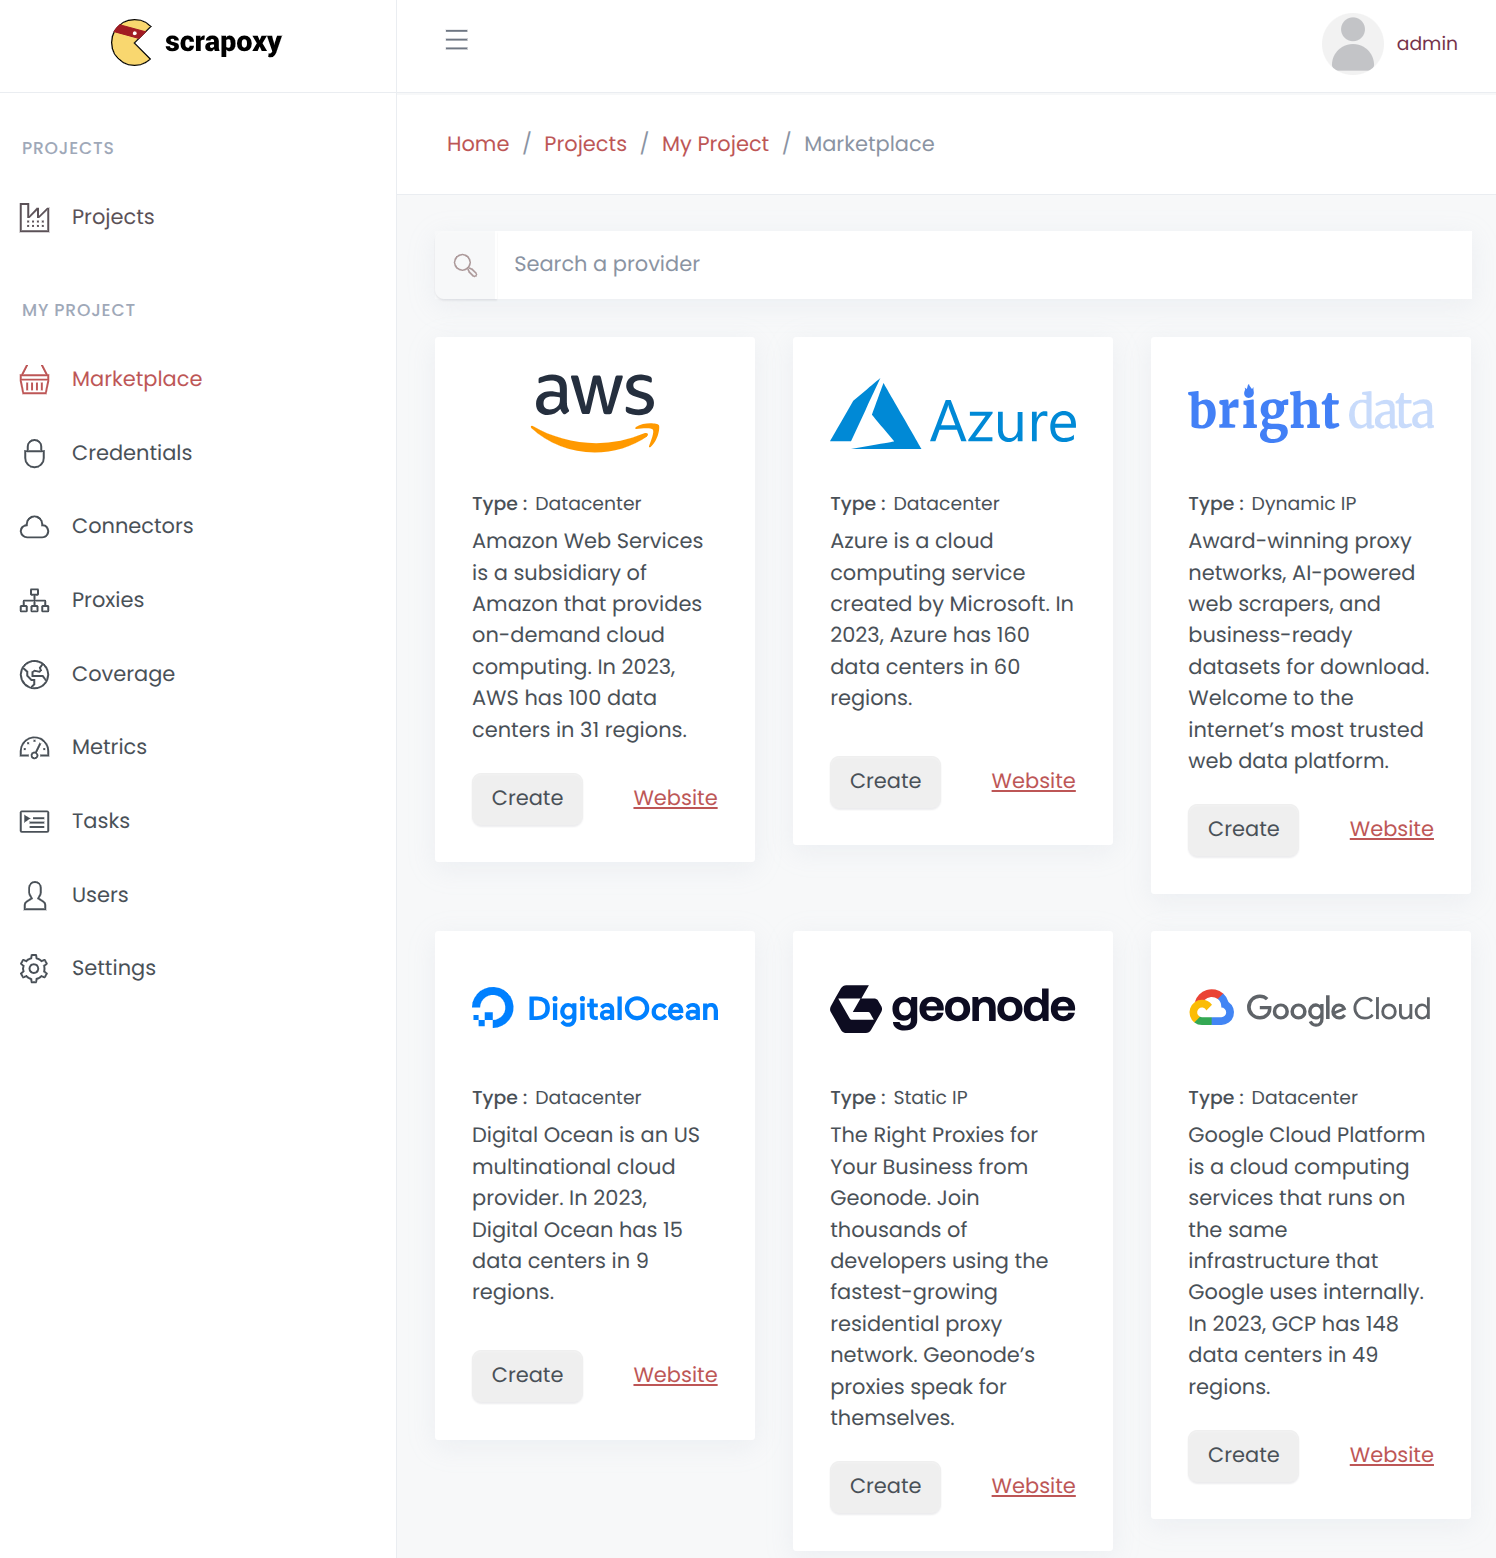
Select the connector and click Create.
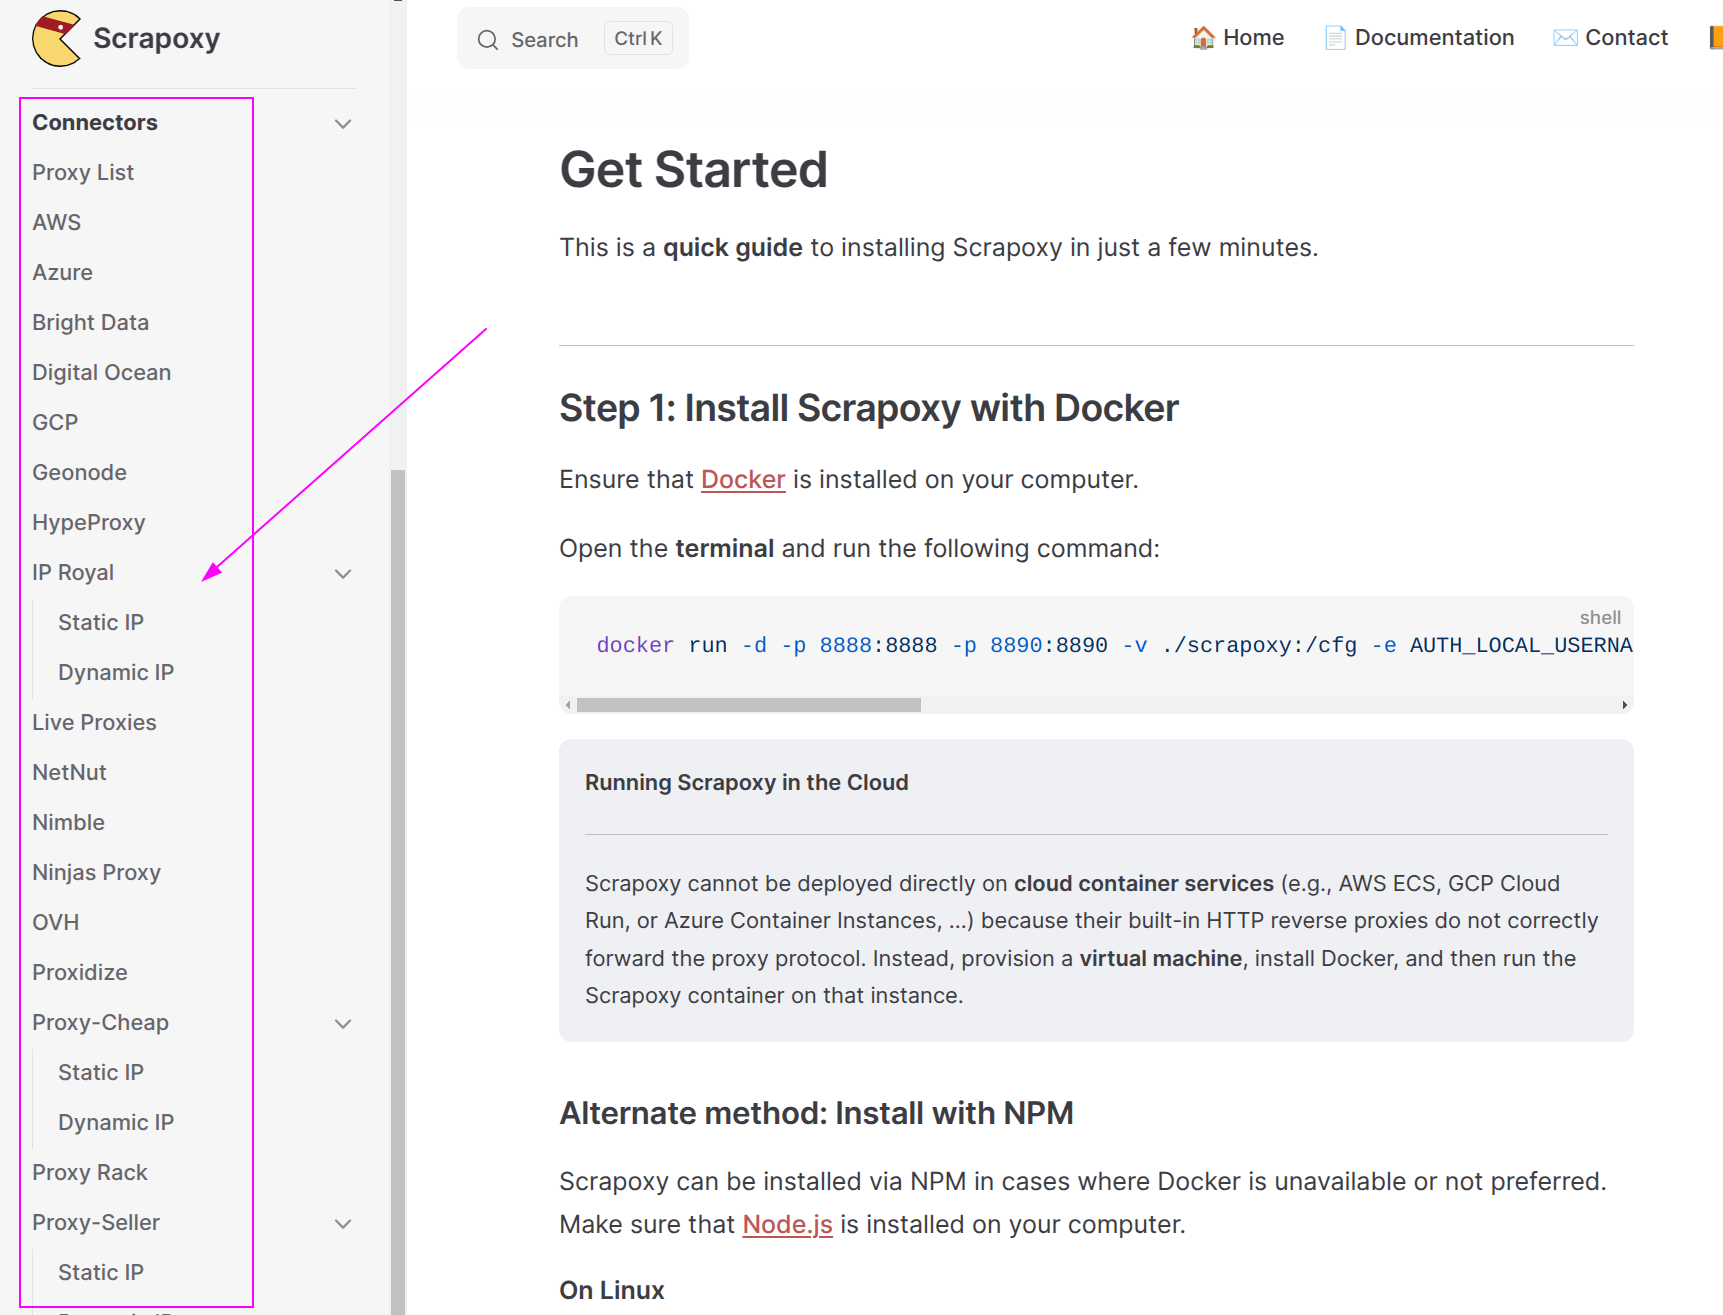
Detailed configuration instructions are provided in Scrapoxy's documentation. Follow the appropriate guide and return to this page once the connector is ready.
Step 4: Make your first request with Curl
First, retrieve the proxy credentials:
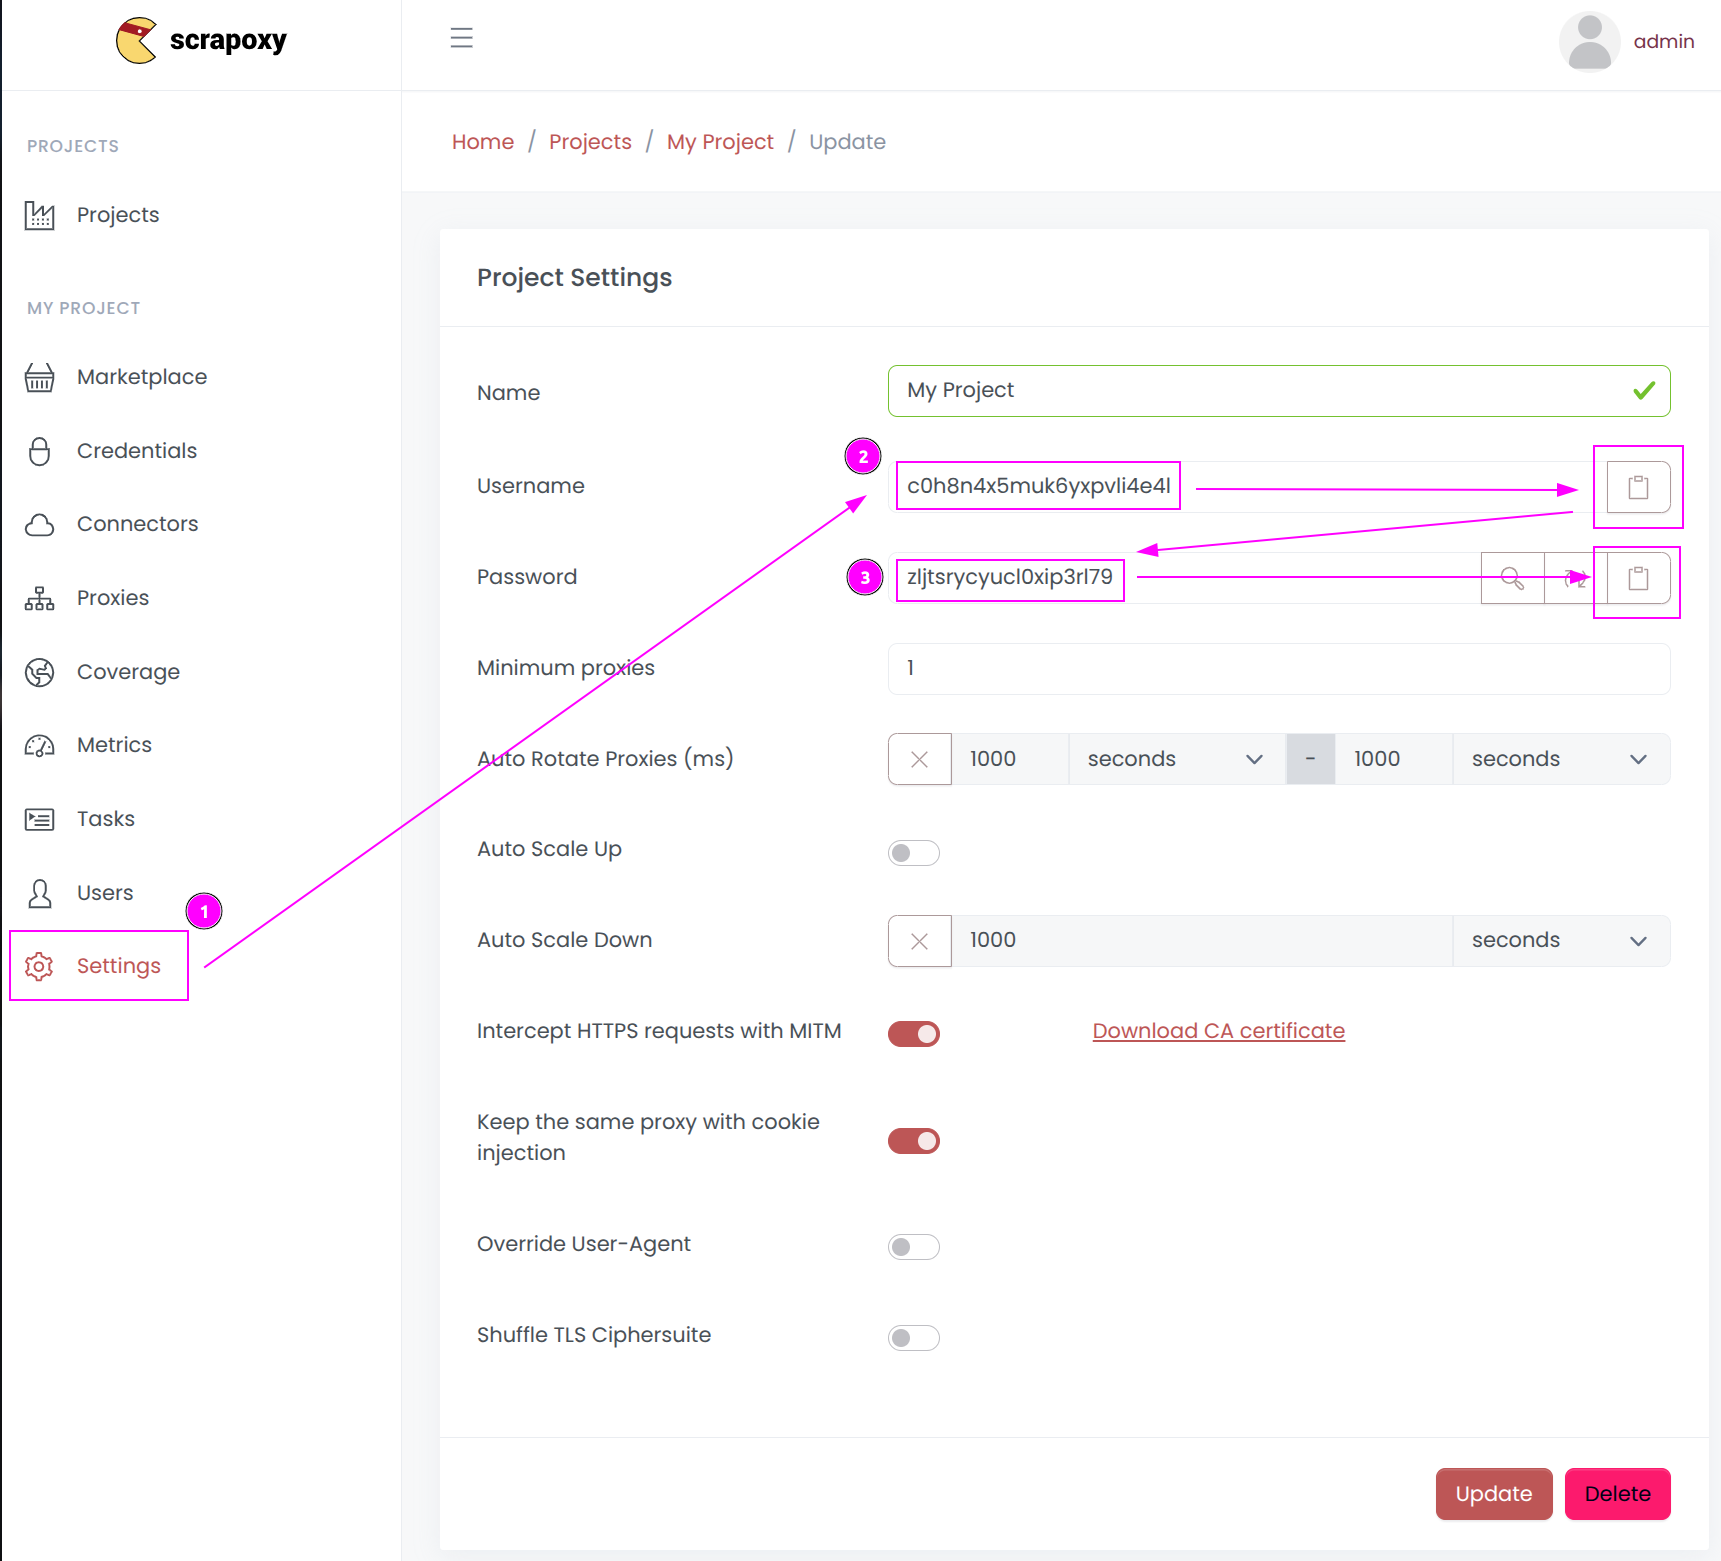
- Click on the
Settingstab; - Click on the
Usernamecopy button and remember the value (e.g.: c0h8n4x5muk6yxpvli4e4l); - Click on the
Passwordcopy button and remember the value (e.g.: zljtsrycyucl0xip3rl79)
Next, make a request with curl:
curl -k -x http://localhost:8888 -U c0h8n4x5muk6yxpvli4e4l:zljtsrycyucl0xip3rl79 http://ipinfo.ioTIP
Scrapoxy uses proxy credentials to route requests to the correct project. This allows Scrapoxy to manage multiple projects simultaneously, all accessible through the same proxy port (8888).
For additional integrations, refer to the documentation:
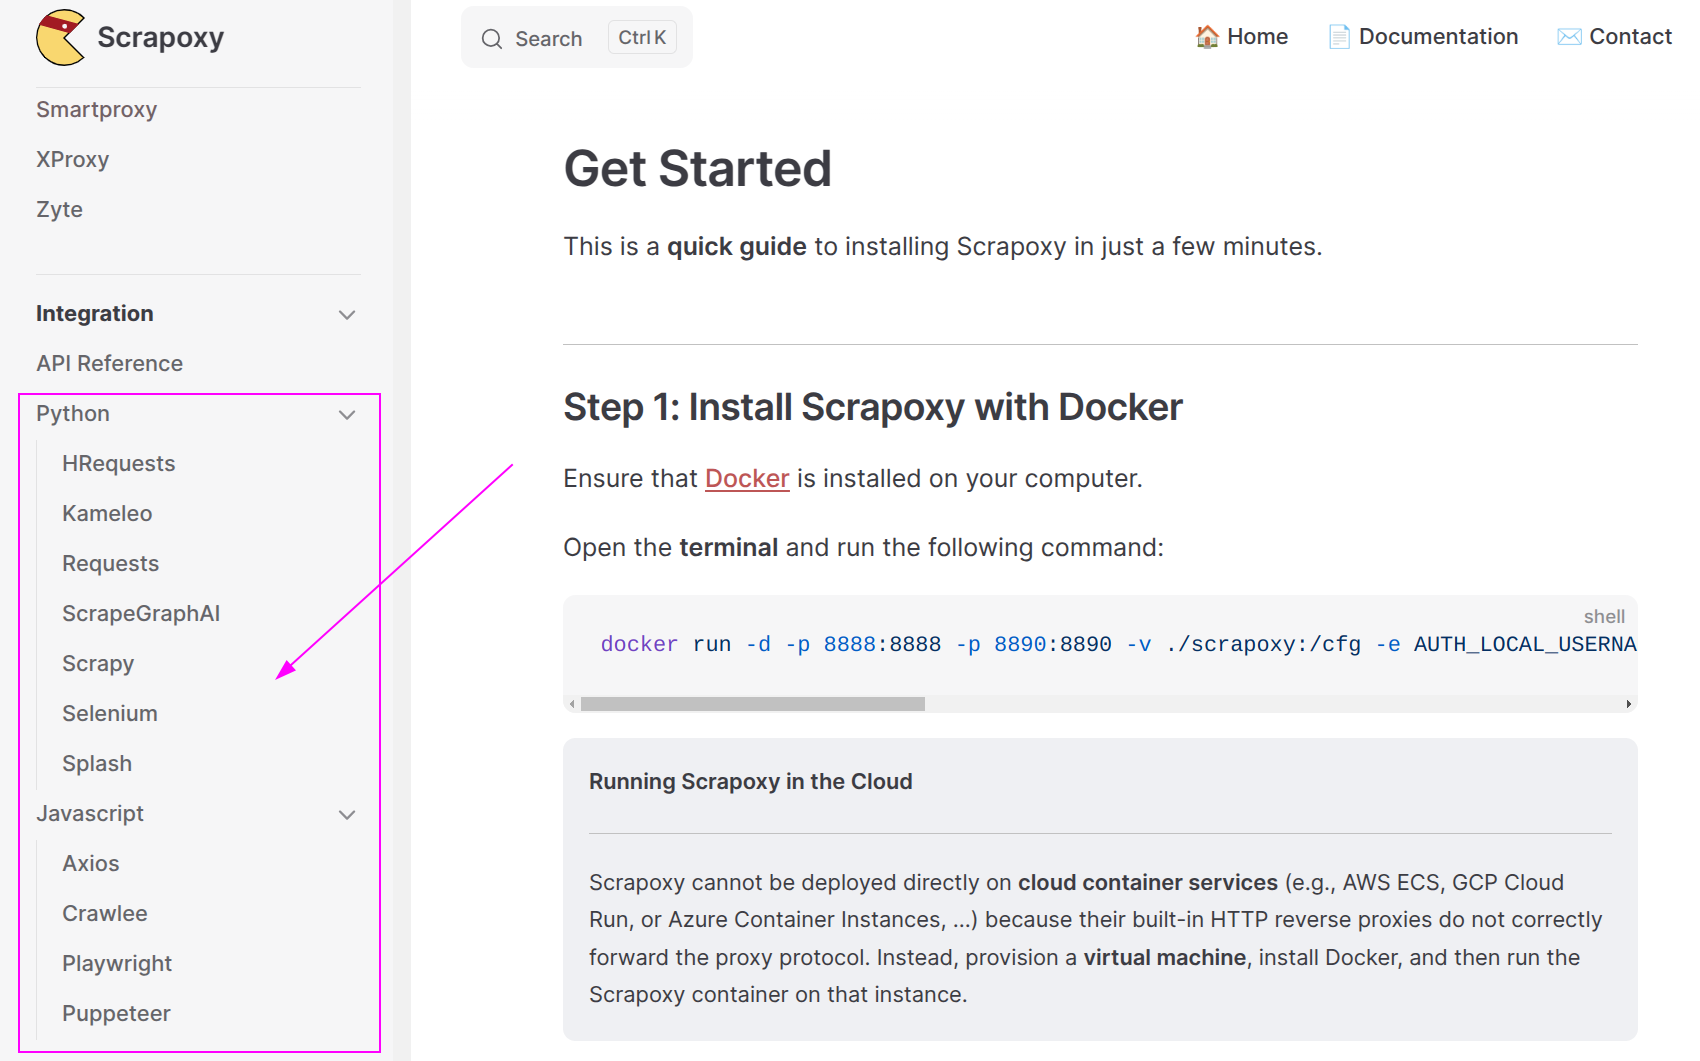
Scrapoxy supports many popular tools and frameworks, including: Puppeteer, Playwright, Scrapy, etc.

 Scrapoxy