
 Scrapoxy
Tencent Cloud Connector

Tencent Cloud is a Chinese cloud computing provider that offers on-demand infrastructure solutions. In 2023, Tencent Cloud operates over 70 availability zones in 26 regions across the globe.
Thanks a lot to Rémy Fontaine of Sahar for the contribution!
Prerequisites
An active subscription to Tencent Cloud is required.
When accessing regions other than Hong Kong, Tencent Cloud will require you to complete verification, either through personal ID verification or by submitting company registration details.
Tencent Console
Connect to Tencent Console.
Get the Secret ID and Key
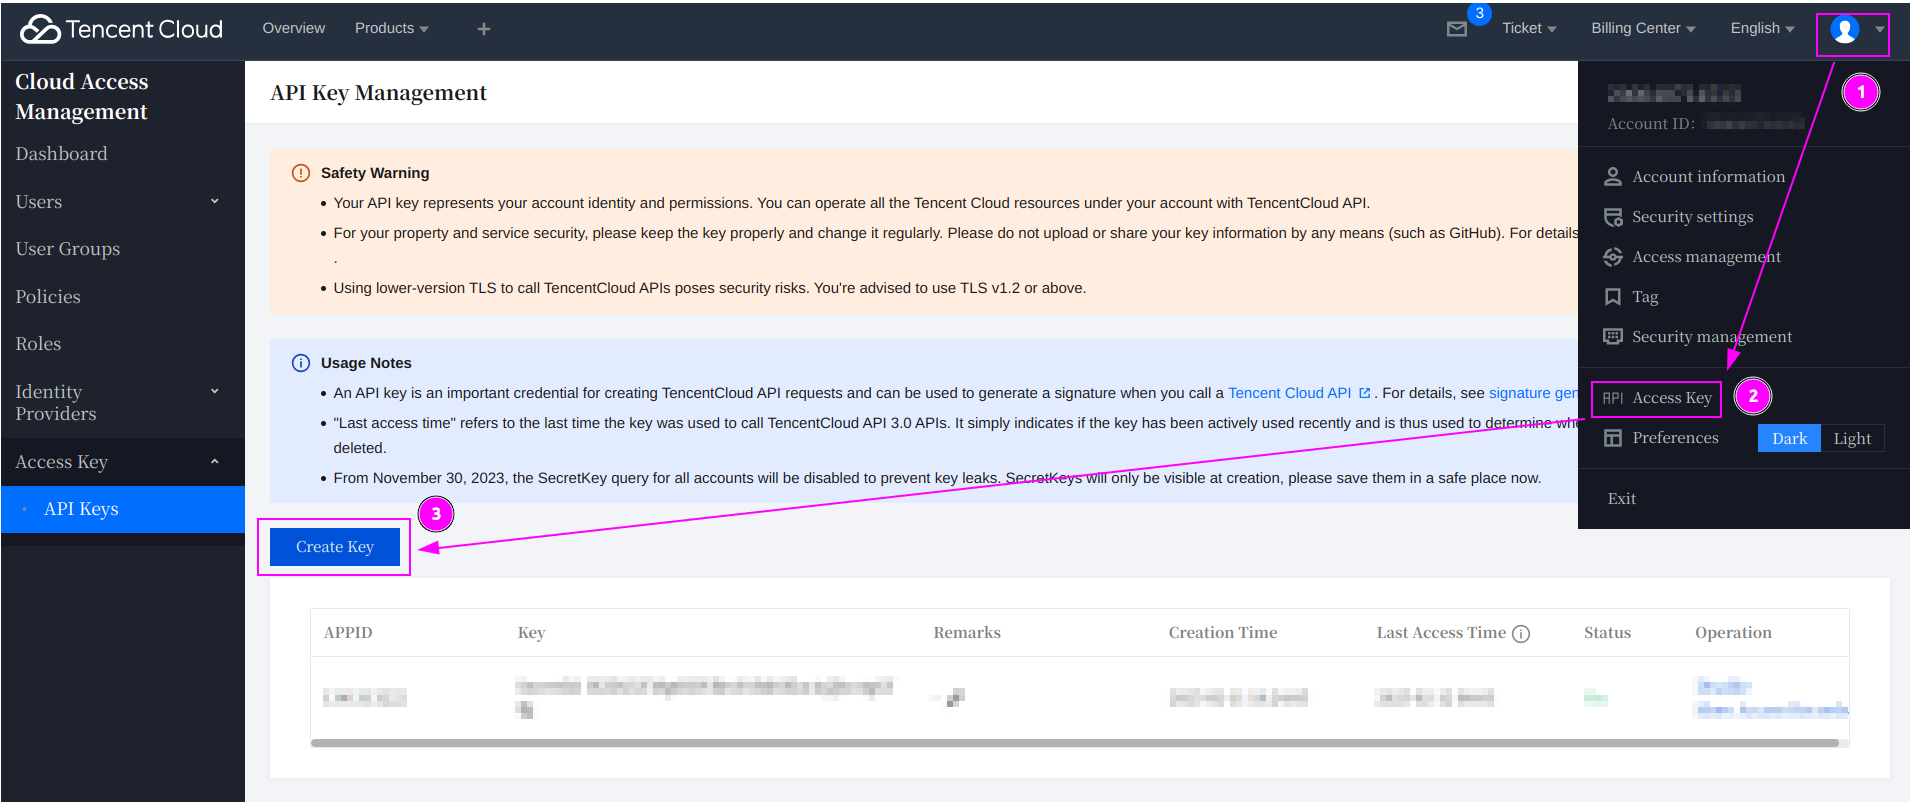
- On the top right, click on your name to open the menu;
- Click on
Access Key; - And click on
Create Key.
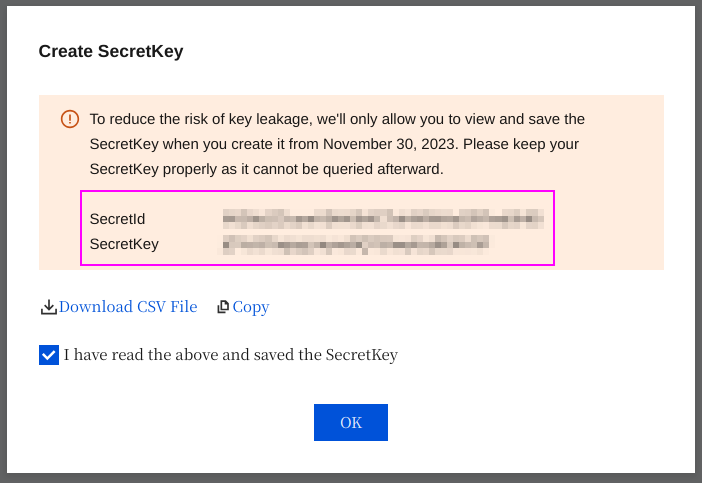
Remember the SecretId and the SecretKey.
Scrapoxy
Open Scrapoxy User Interface and select Marketplace:
Step 1: Create a new credential
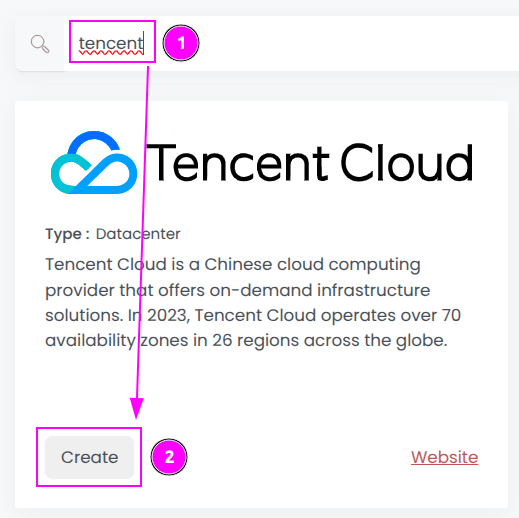
Select Tencent to create a new credential (use search if necessary).
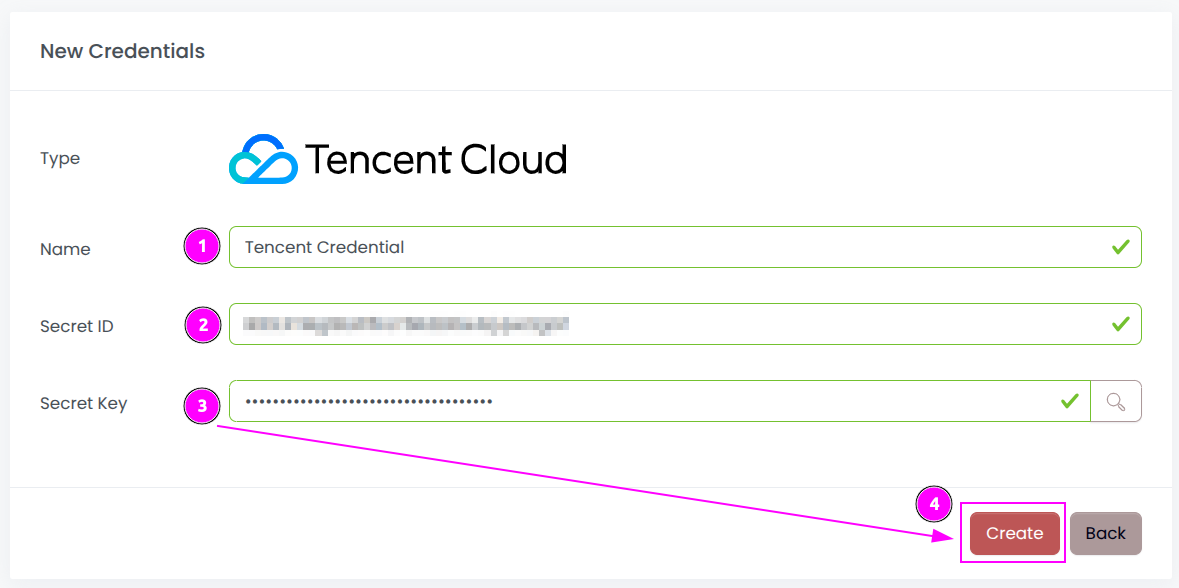
Complete the form by entering the following information:
- Name: Specify the unique name for the credential;
- Secret ID: Enter the remembered
Secret ID; - Secret Key: Enter the remembered
Secret Key.
And click on Create.
Step 2: Create a new connector
Create a new connector:
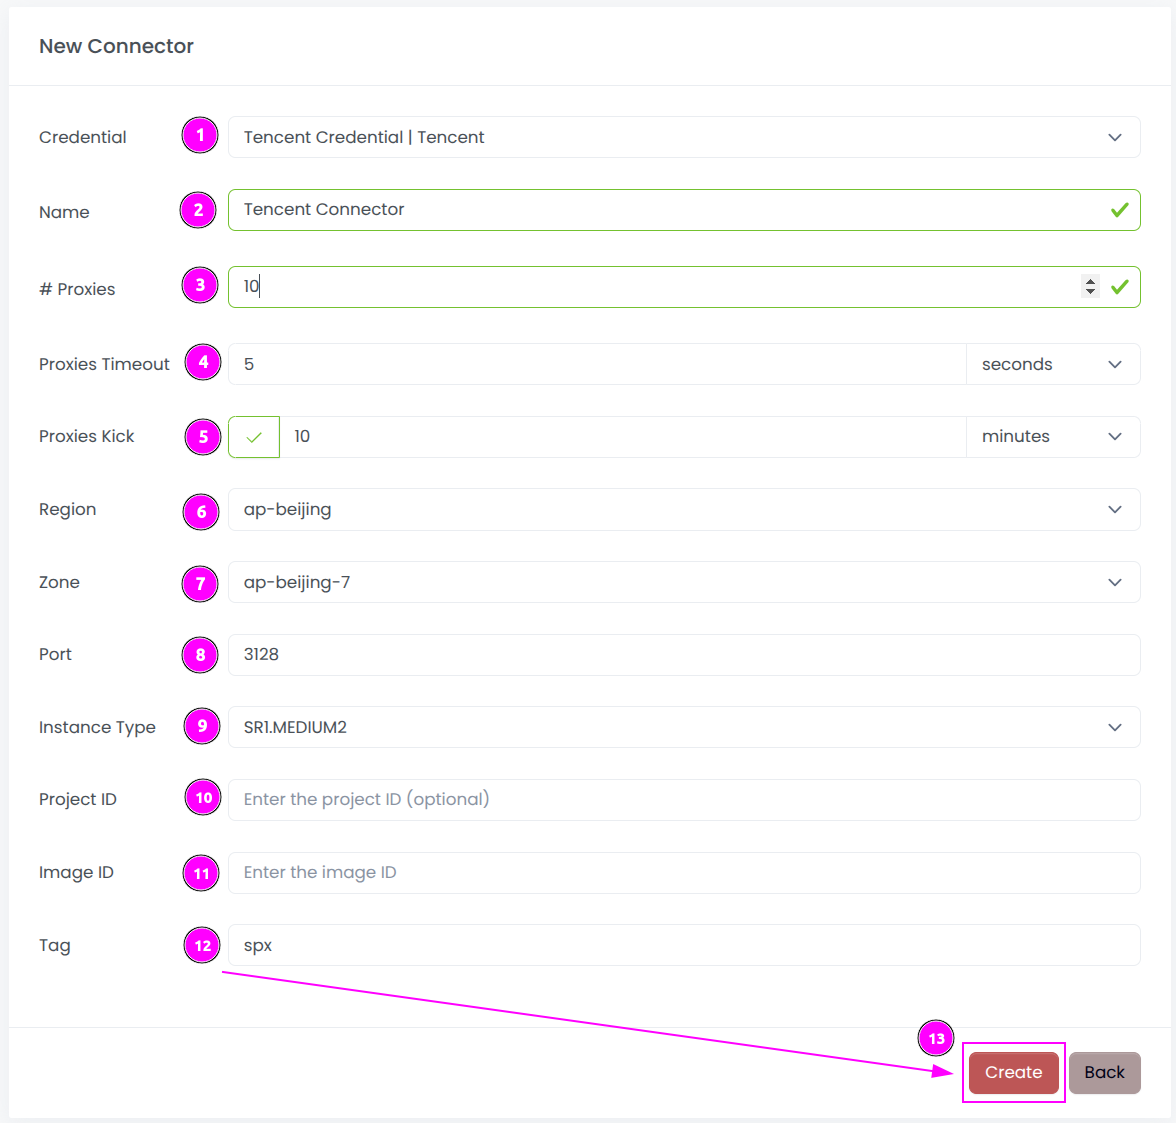
Complete the form with the following information:
- Credential: The previous credential;
- Name: The name of the connector;
- # Proxies: The number of instances to create.
- Proxies Timeout: Maximum duration for connecting to a proxy before considering it as offline;
- Proxies Kick: If enabled, maximum duration for a proxy to be offline before being removed from the pool;
- Region: The region where the instances will be created;
- Zone: The zone inside the region;
- Port: The port of the proxy (on Tencent);
- Instance Type: The type of the instance;
- Project ID: The Project ID or leave it empty to use the default project;
- Image ID: The ID of the image in the region (keep it empty);
- Tag: The default tag for instance.
And click on Create.
Most default values can be retained if suitable for the use case.
Step 3: Start the connector

- Start the project;
- Start the connector.
Step 4: Stop the connector (optional)

- Stop the connector;
- Wait for proxies to be removed.