
 Scrapoxy
Scaleway Connector

Scaleway is a French cloud computing provider that offers on-demand infrastructure solutions. In 2023, Scaleway operates 7 data centers in 3 regions across Europe.
Thanks a lot to Rémy Fontaine of Sahar for the contribution!
Prerequisites
An active subscription to Scaleway is required.
Scaleway Console
Connect to Scaleway Console.
Get the Secret Key
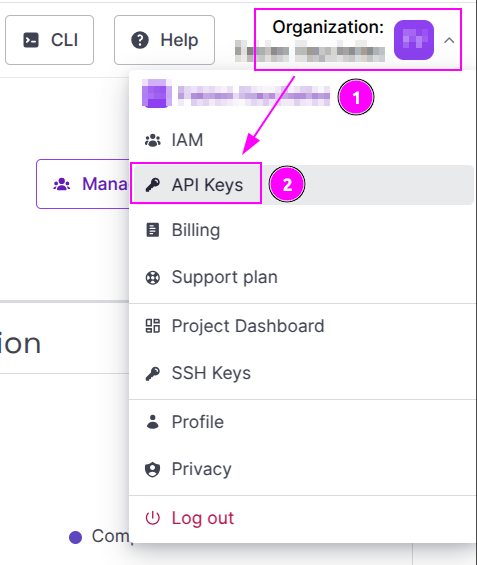
- On the top right, click on your name to open the menu;
- And click on
API Keys.
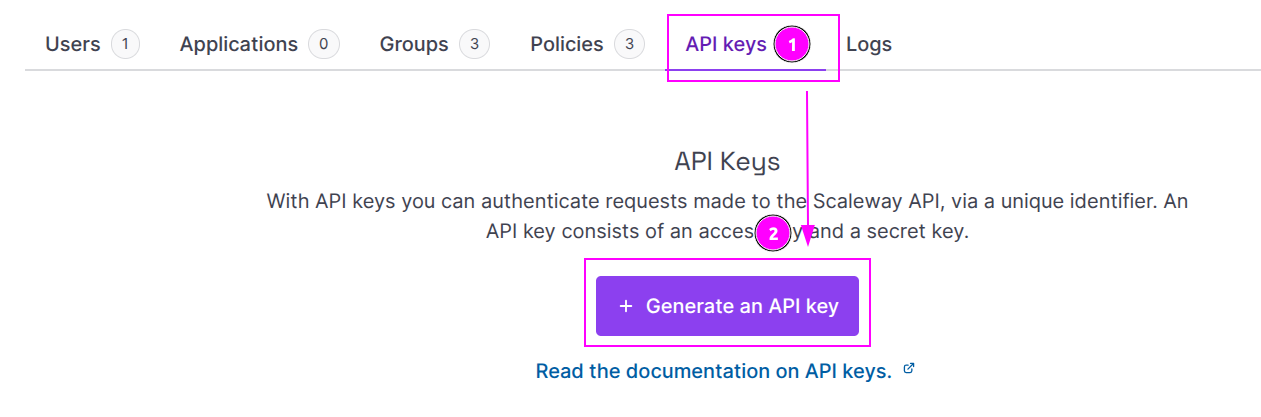
- Select the tab
API Keys(should be already selected); - And click on
Generate an API key.
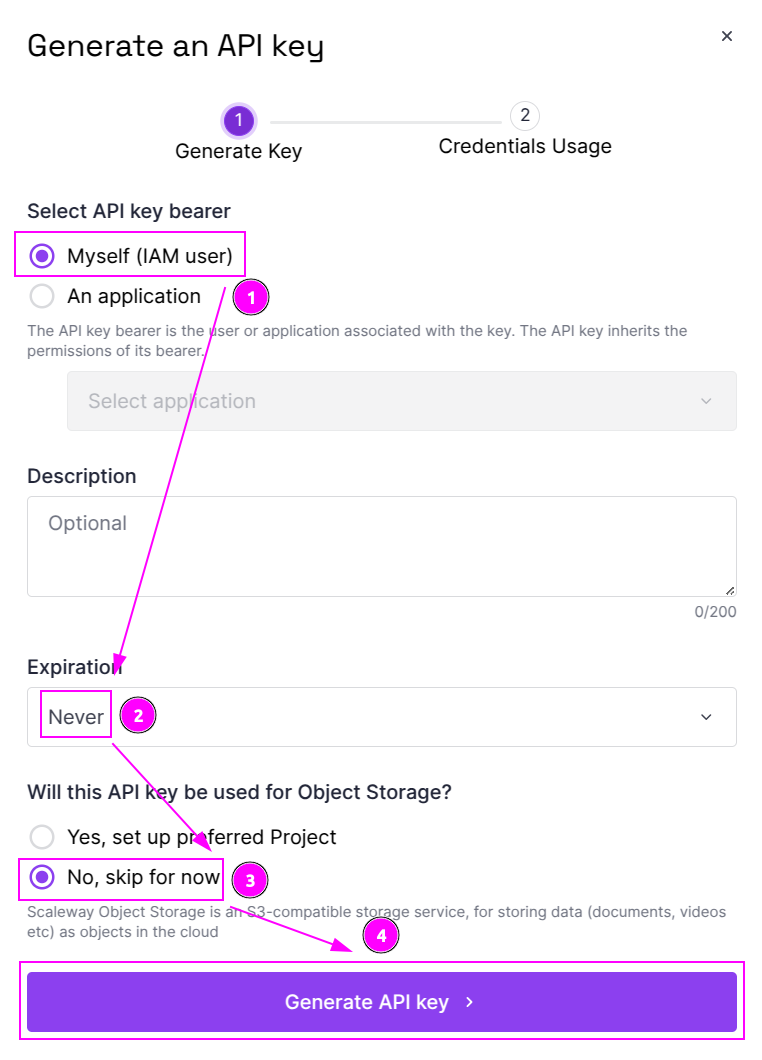
- Choose
Myself (IAM user)for the bearer; - Select
Neverfor expiration; - Choose
No, skip for nowfor Object Storage; - And click on
Generate API key.
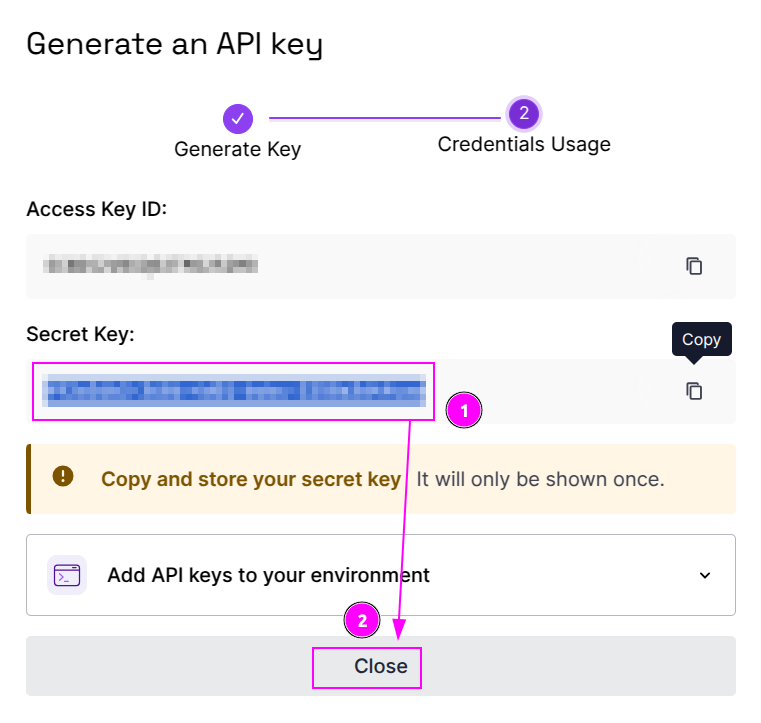
- Remember the
Secret Key; - And click on
Closebutton.
Get the Project ID
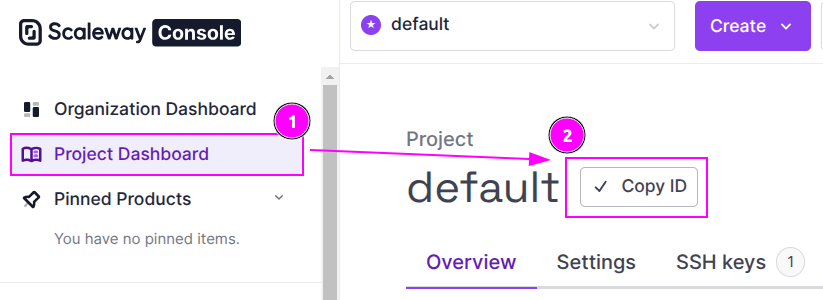
- On the left sidebar, click on
Project Dashboard; - And click on the
Copy IDbutton to remember theProject ID.
Scrapoxy
Open Scrapoxy User Interface and select Marketplace:
Step 1: Create a new credential
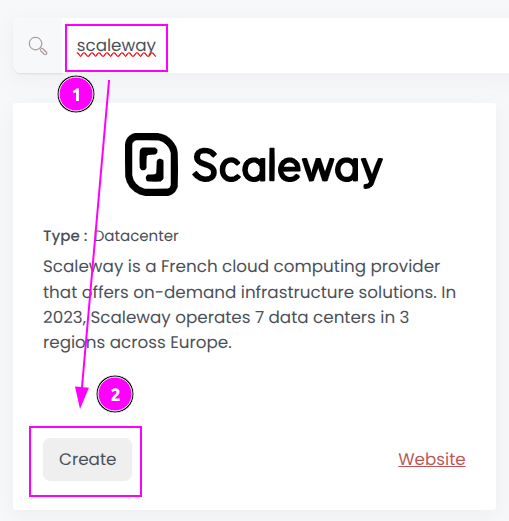
Select Scaleway to create a new credential (use search if necessary).
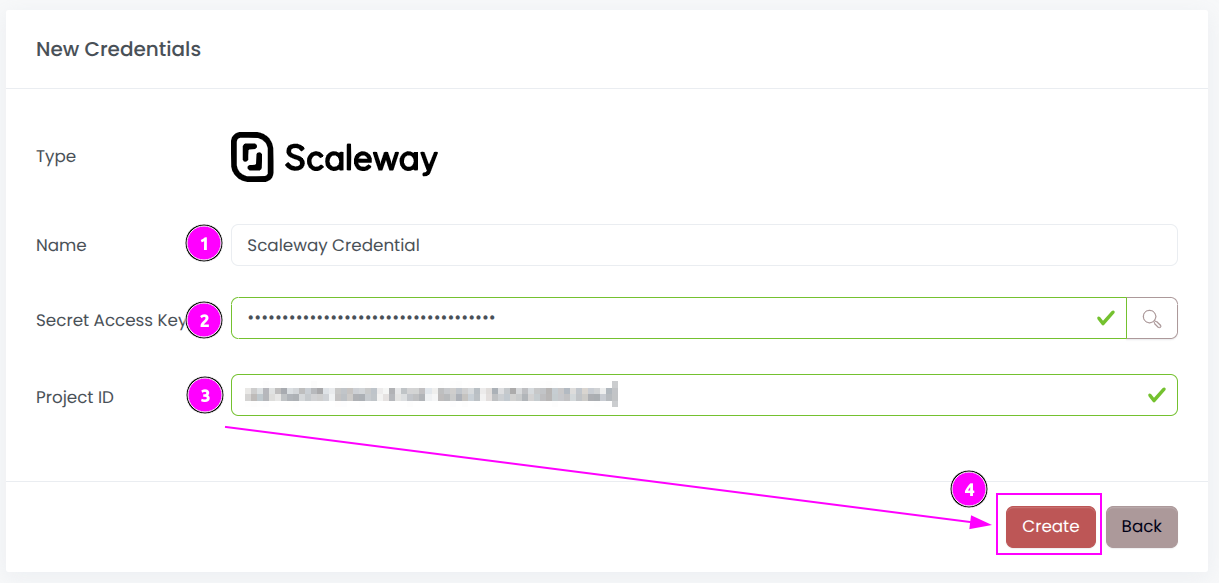
Complete the form by entering the following information:
- Name: Specify the unique name for the credential;
- Secret Access Jey: Enter the remembered
Secret Key; - Project ID: Enter the remembered
Project ID.
And click on Create.
Step 2: Create a new connector
Create a new connector:
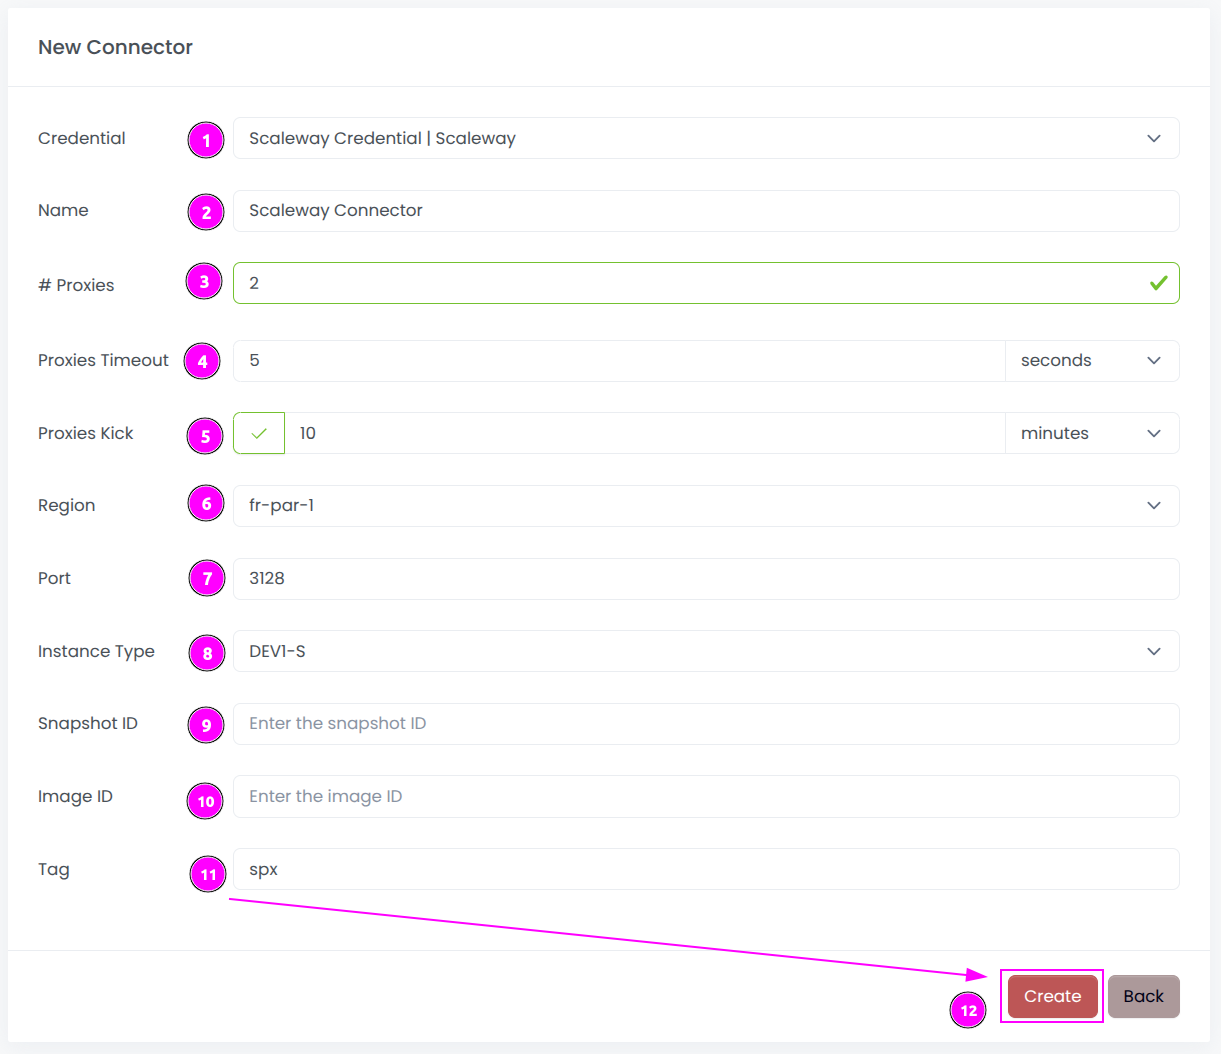
Complete the form with the following information:
- Credential: The previous credential;
- Name: The name of the connector;
- # Proxies: The number of instances to create.
- Proxies Timeout: Maximum duration for connecting to a proxy before considering it as offline;
- Proxies Kick: If enabled, maximum duration for a proxy to be offline before being removed from the pool;
- Region: The region where the instances will be created;
- Port: The port of the proxy (on Scaleway);
- Instance Type: The type of the instance;
- Snapshot ID: The ID of the snapshot in the region (keep it empty);
- Image ID: The ID of the image in the region (keep it empty);
- Tag: The default tag for instance.
And click on Create.
Most default values can be retained if suitable for the use case.
Step 3: Start the connector

- Start the project;
- Start the connector.
Step 4: Stop the connector (optional)

- Stop the connector;
- Wait for proxies to be removed.