
 Scrapoxy
Smartproxy Connector

Smartproxy is the award-winning proxy service provider with efficient data extraction and multi-accounting infrastructure. They provides access to 65M+ global IPs.
INFO
This connector supports Residential proxies, ISP proxies and Datacenter proxies with plans to integrate Mobile proxies in the future.
Prerequisites
An active Smartproxy subscription is required.
Smartproxy Dashboard
Connect to Dashboard.
You need to create a new credential for each type of product.
Residential Proxies
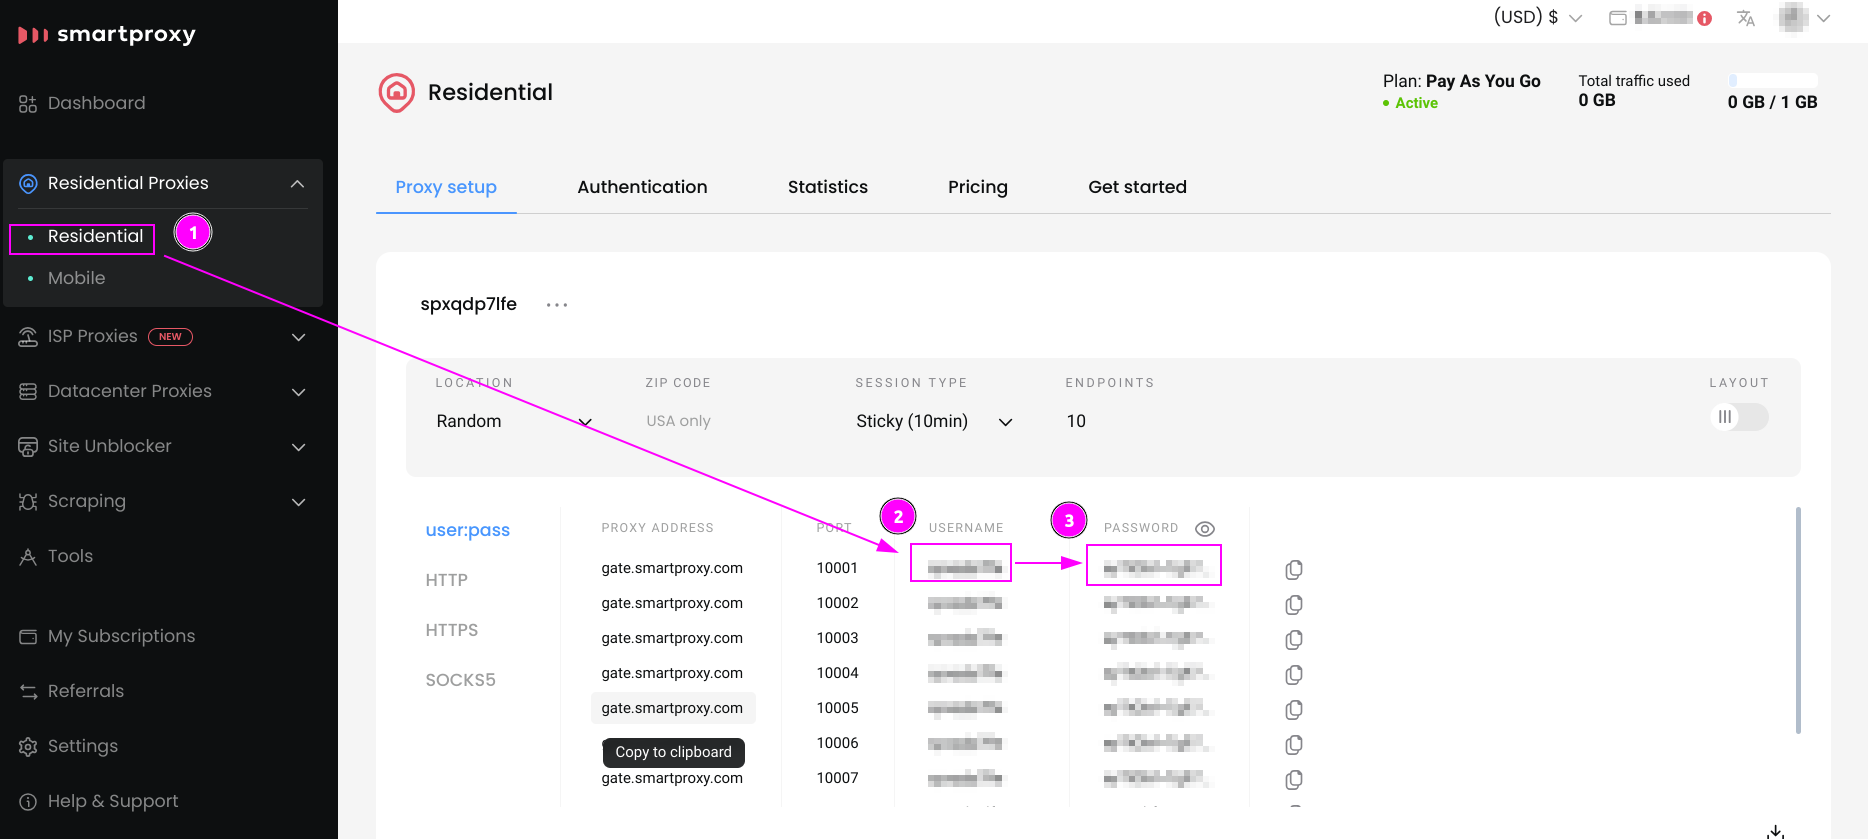
- On the left menu, select
Residential Proxies>Residential; - Remember the username;
- Remember the password.
Mobile Proxies
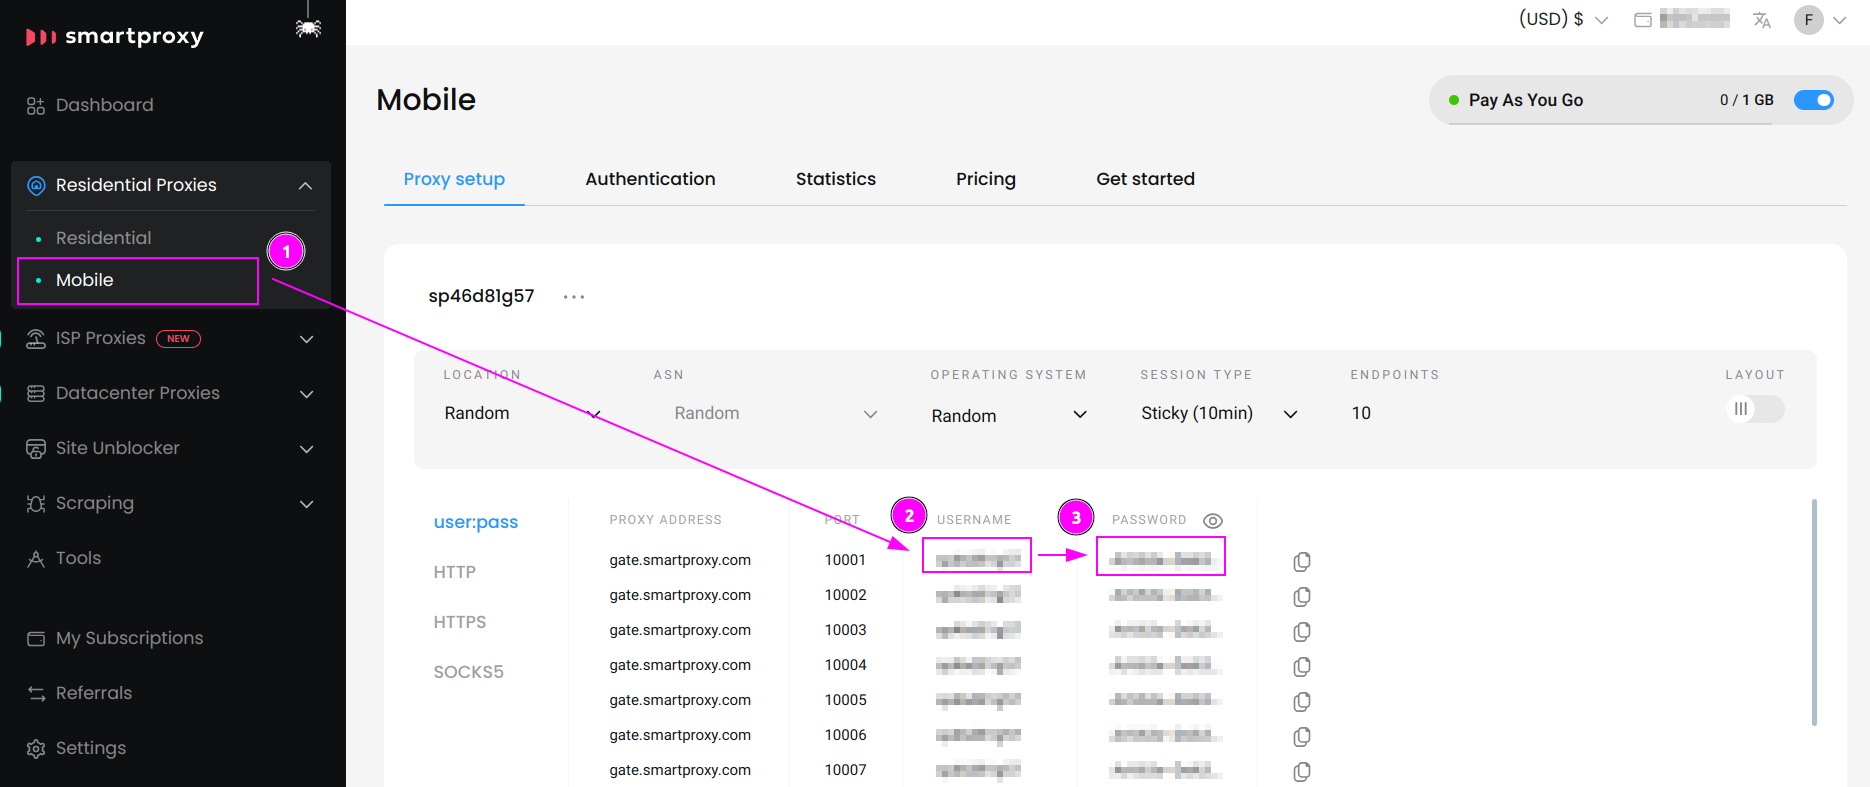
- On the left menu, select
Residential Proxies>Mobile; - Remember the username;
- Remember the password.
ISP Proxies - Pay/GB
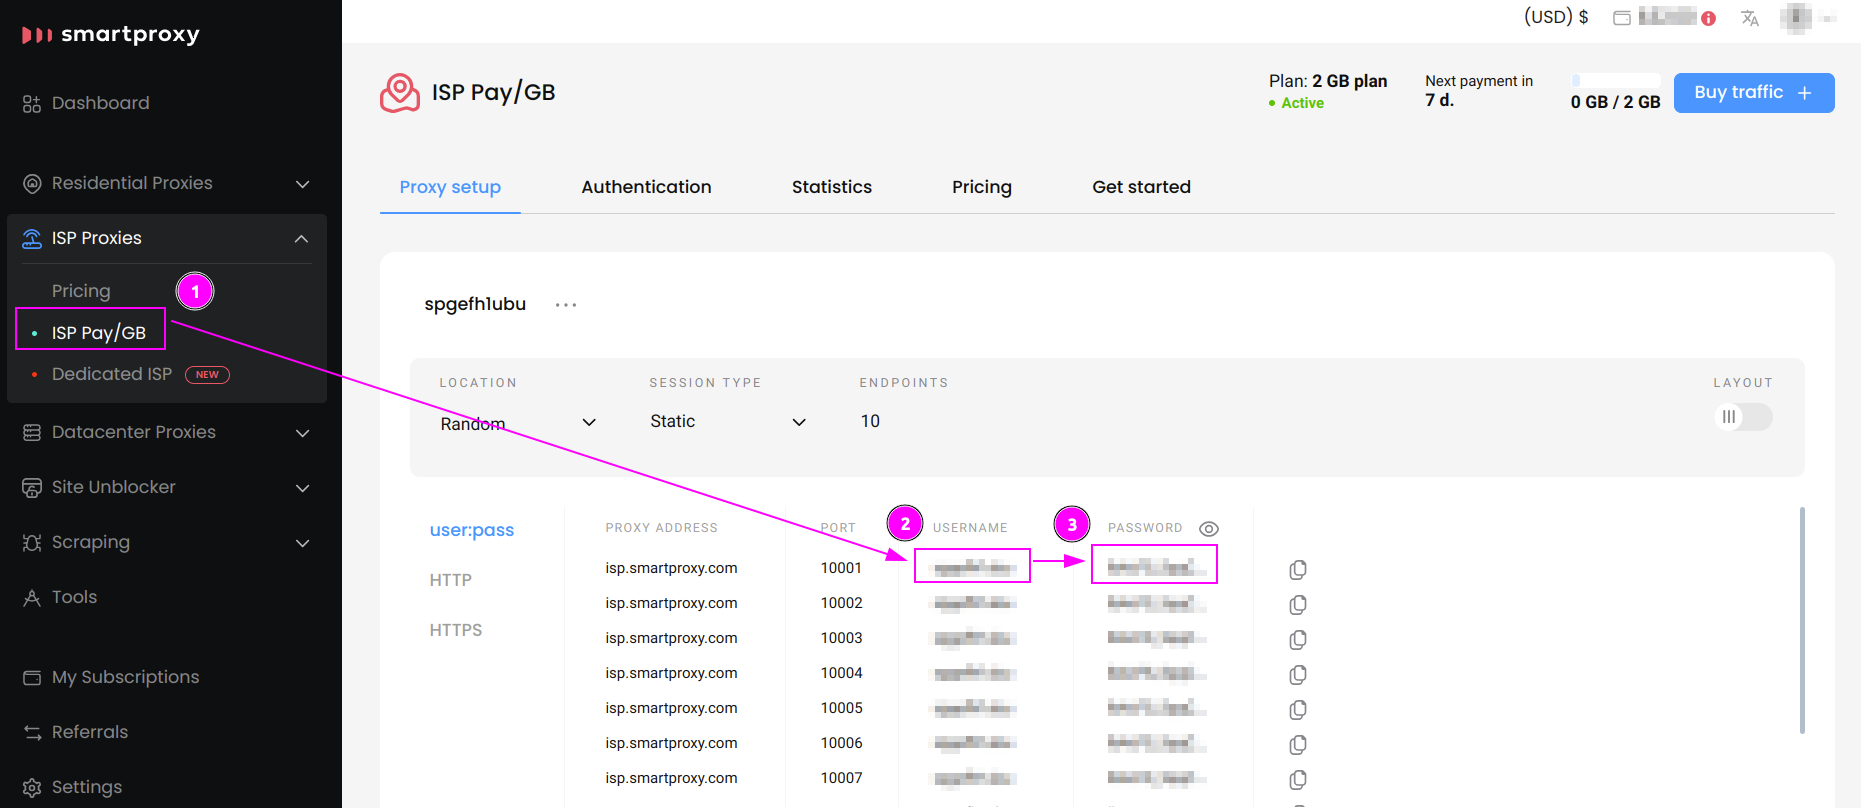
- On the left menu, select
ISP Proxies>ISP Pay/GB; - Remember the username;
- Remember the password.
ISP Proxies - Dedicated ISP
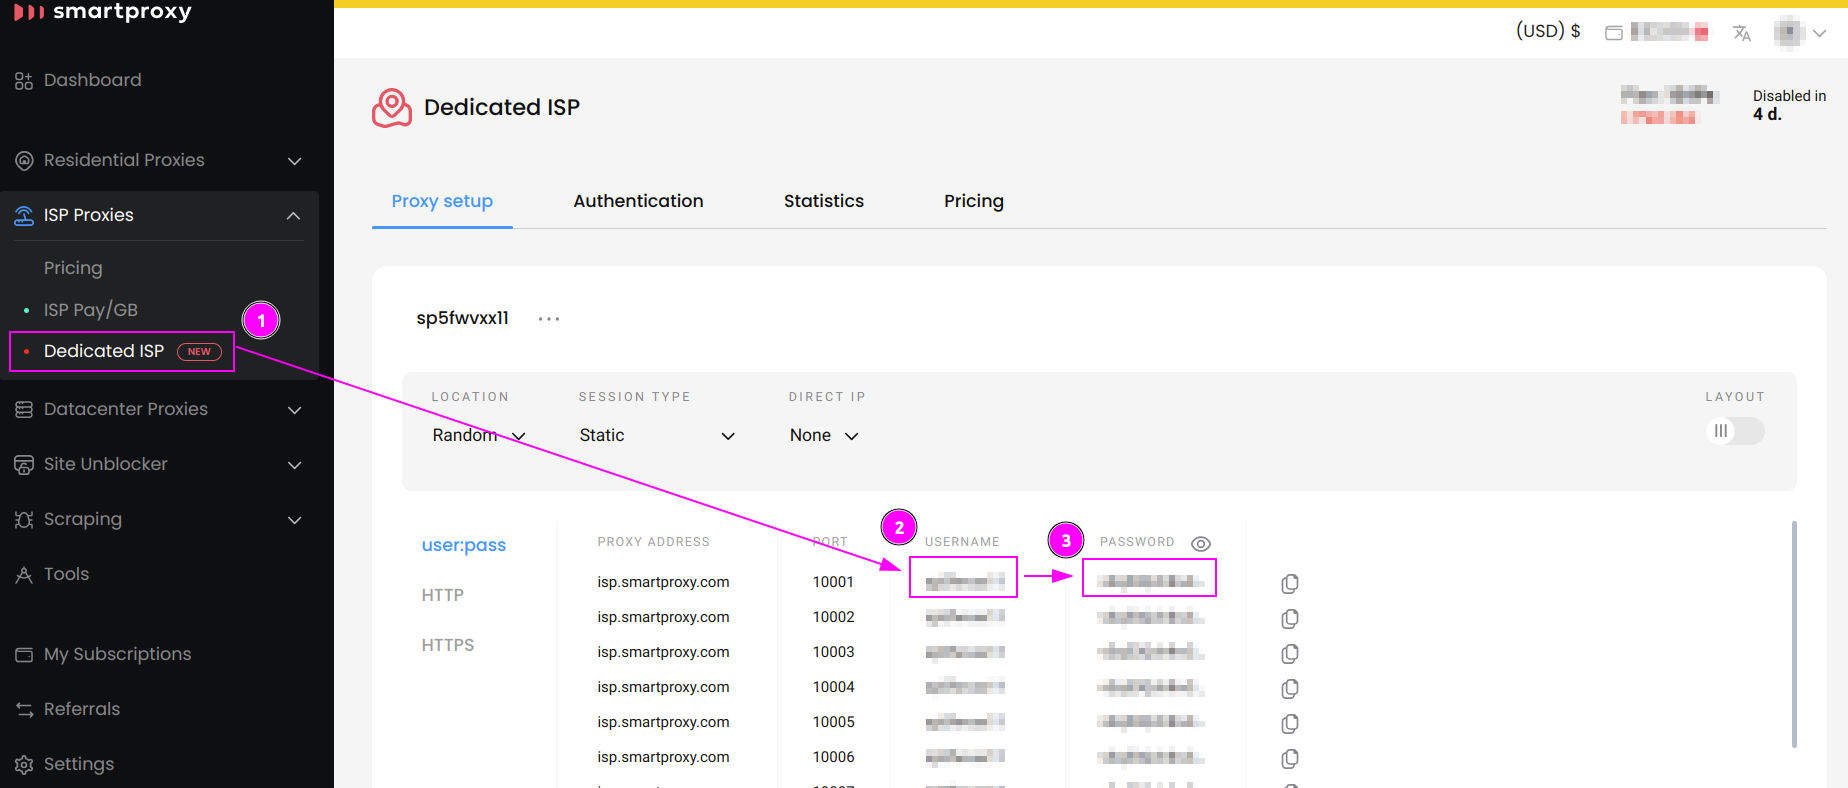
- On the left menu, select
ISP Proxies>Dedicated ISP; - Remember the username;
- Remember the password.
Datacenter Proxies - Pay/GB
INFO
For Datacenter Pay/GB proxies, you need to reset the password if you can't remember it.
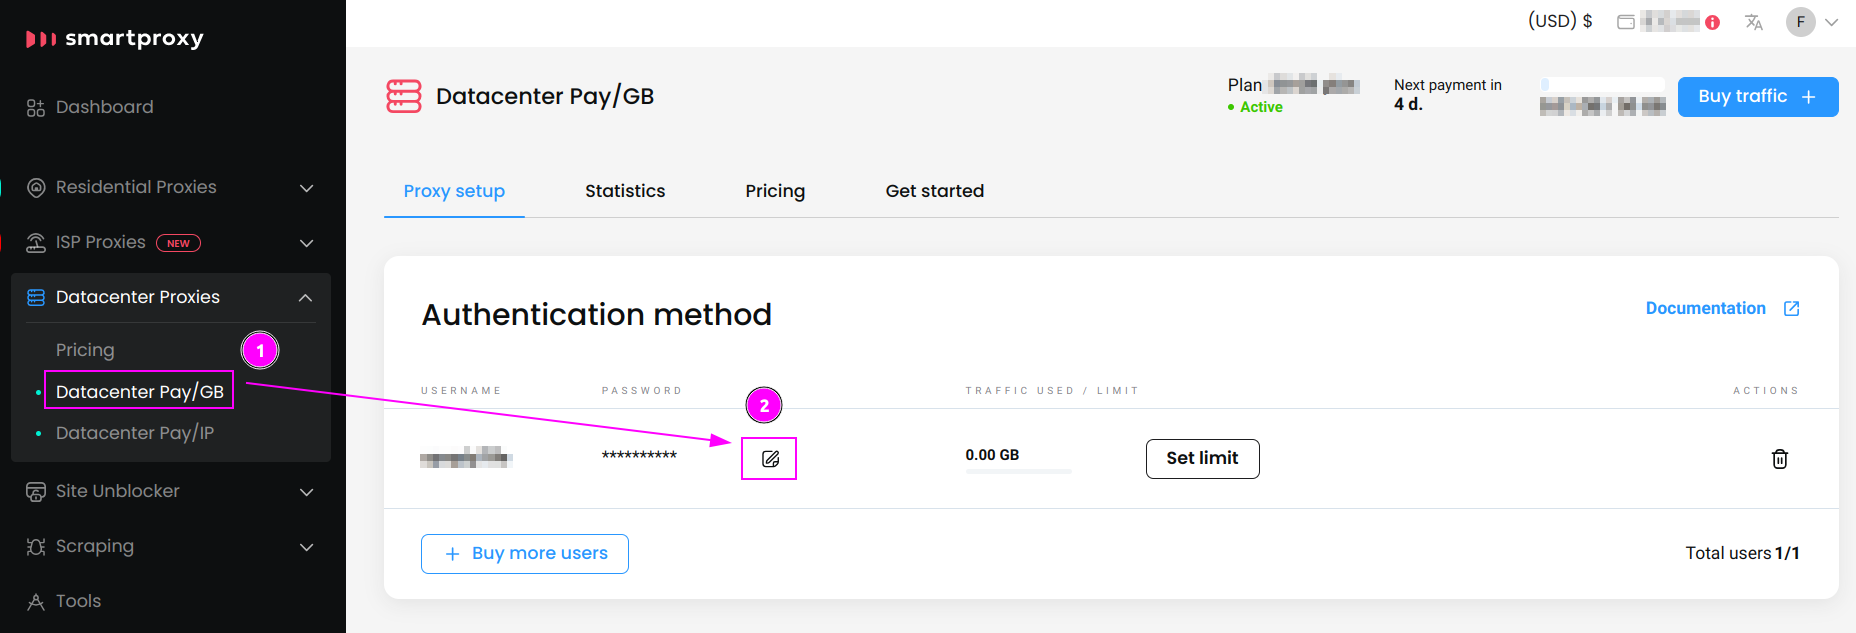
- On the left menu, select
Datacenter Proxies>Datacenter Pay/GB; - Click on the
Editbutton.
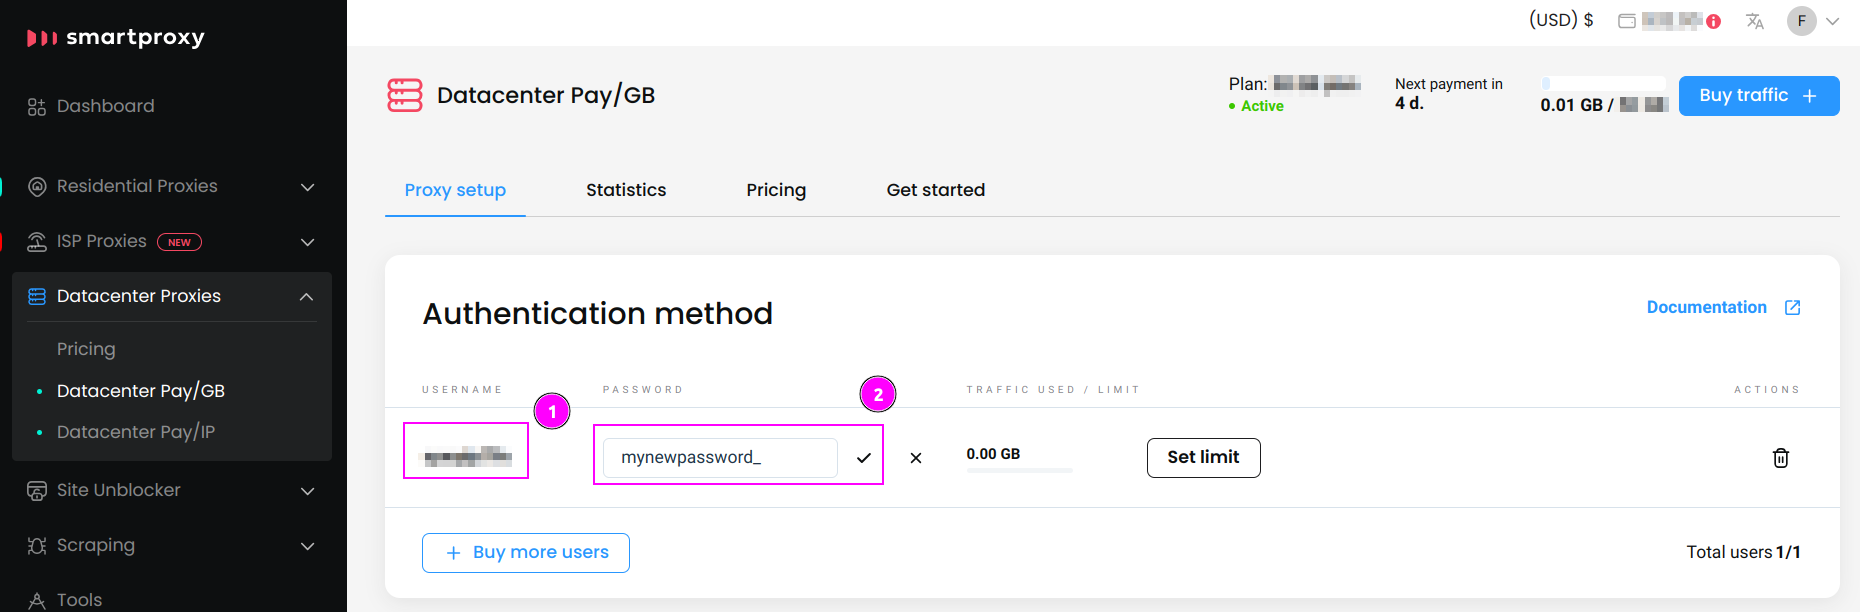
- Remember the username;
- Change the password, remember and save it.
Datacenter Proxies - Pay/IP
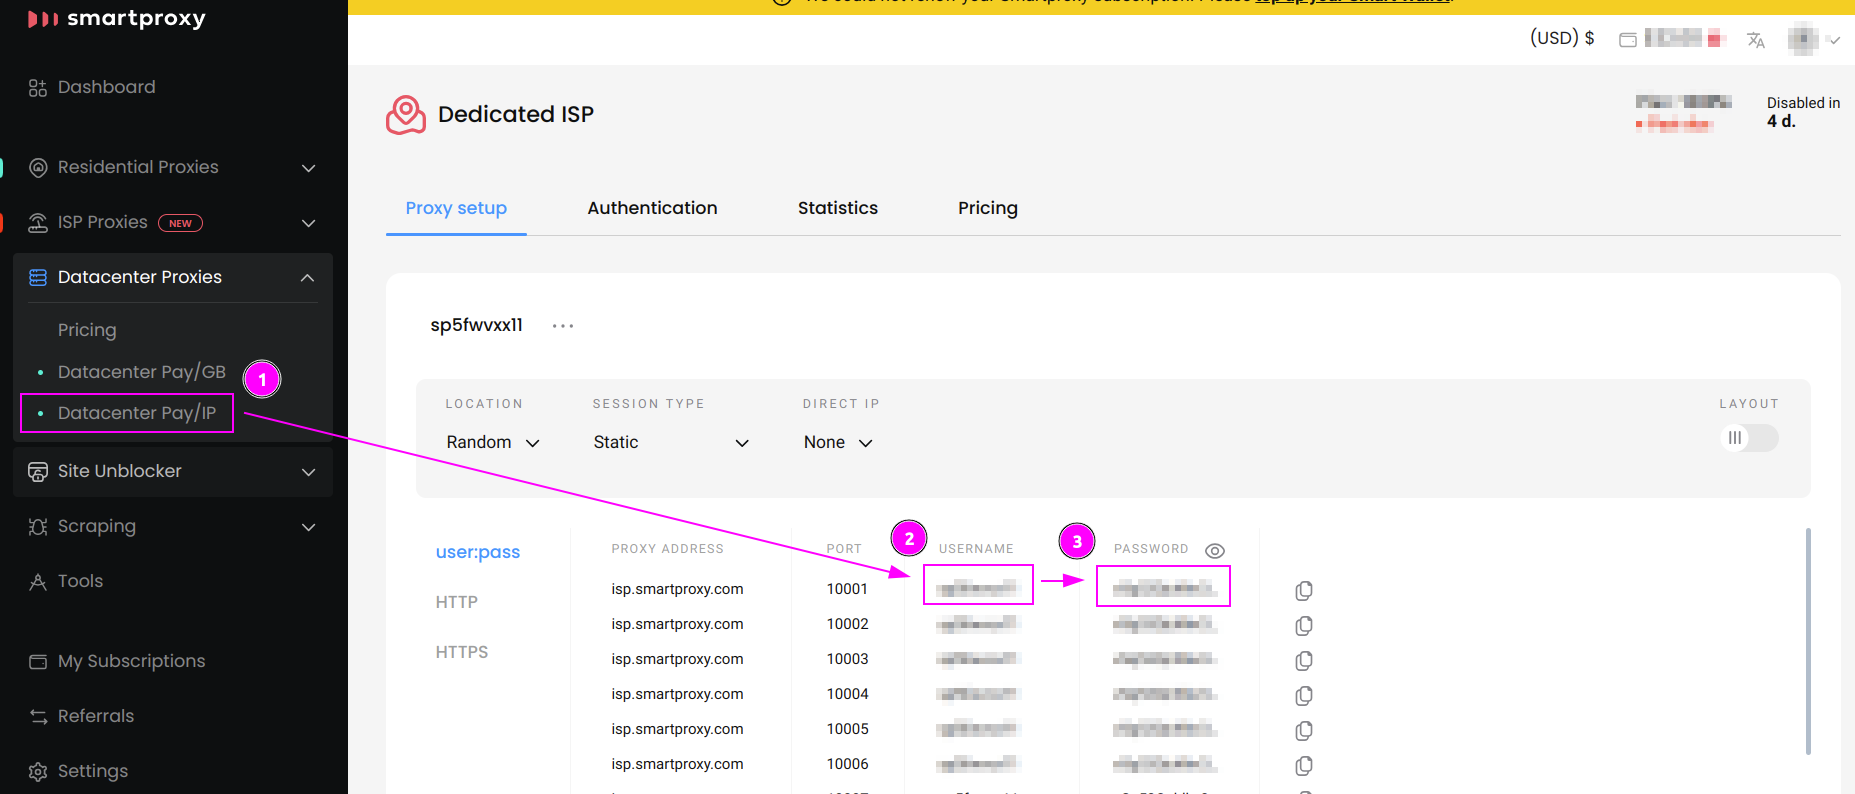
- On the left menu, select
Datacenter Proxies>Datacenter Pay/IP; - Remember the username;
- Remember the password.
Scrapoxy
Open Scrapoxy User Interface and select Marketplace:
Step 1: Create a new credential

Select Smartproxy to create a new credential (use search if necessary).
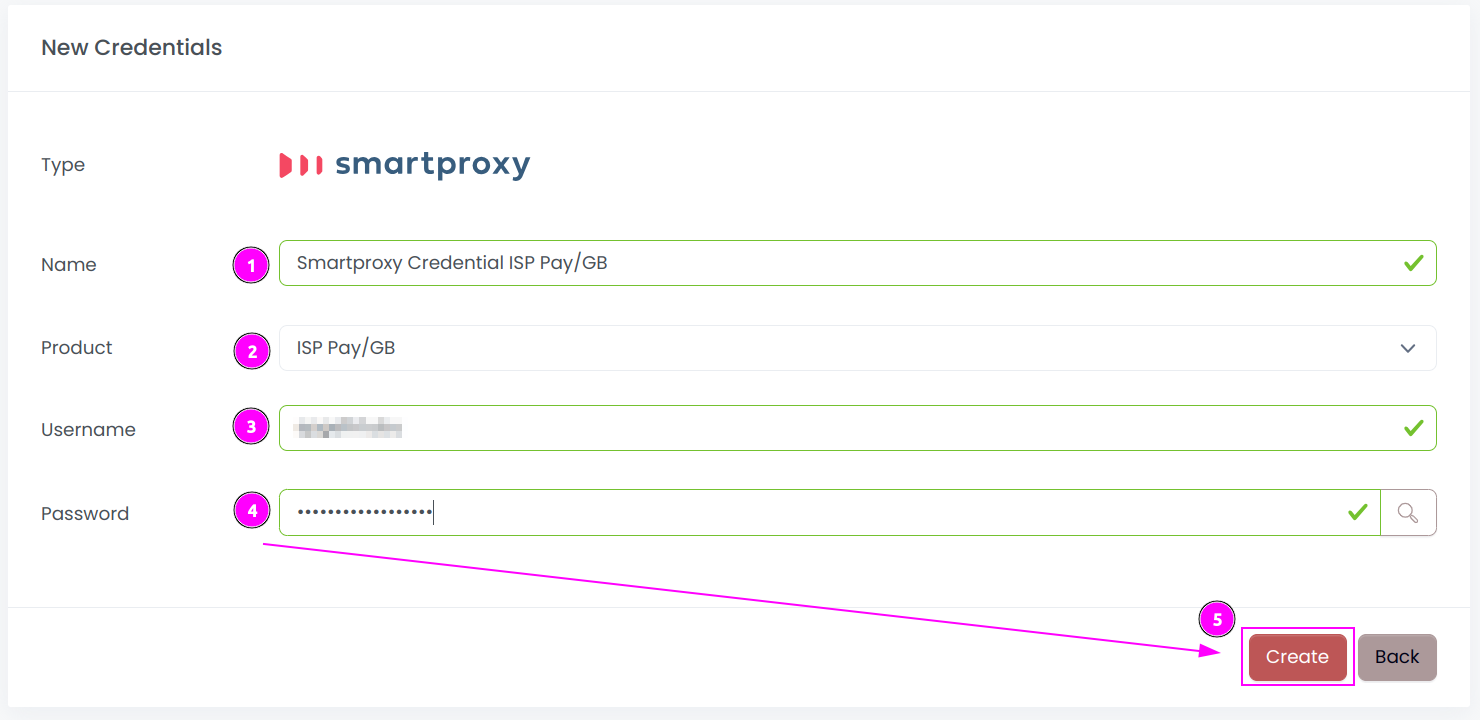
Complete the form with the following information:
- Name: The name of the credential;
- Product: The type of product;
- Username: The username;
- Password: The password.
And click on Create.
INFO
If you switch to a different product type, remember to copy and paste the new username and password.
Step 2: Create a new connector
Create a new connector and select Smartproxy as provider:

Complete the form with the following information:
- Credential: The previous credential;
- Name: The name of the connector;
- # Proxies: The number of instances to create;
- Proxies Timeout: Maximum duration for connecting to a proxy before considering it as offline;
- Proxies Kick: If enabled, maximum duration for a proxy to be offline before being removed from the pool;
- Country: Select the country to use, or
Allto use all countries.
And click on Create.
Step 3: Start the connector

- Start the project;
- Start the connector.
Other: Stop the connector

- Stop the connector;
- Wait for proxies to be removed.